In this guide, we will discuss how to change the default system language in Windows 11 and also the reasons why you might require doing so.
While clean installing Windows OS on a computer, it is essential to look for minute details. Though a few settings you can’t undo, there are plenty of other settings that you may modify later on. Changing default system language (opted while installing) is one such issue. Well, you certainly don’t need to reinstall Windows to fix this problem.
We say so because you can easily download and install a new language on your computer. Once you have downloaded a specific language, make it default or switch in between the available ones.
Change Default System Language in Windows 11
If you had chosen a different system language while installing Windows 11 or just want to try a different language and make it the default one, follow either of the below methods –
- Add a New Language and Enable it
- Disable Language Sync on Windows 11
- Configure Region as per your locale
1] Add a New Language and Enable it
If you want to change your default system language to a new one on Windows 11, you have to first download that specific language. After you have downloaded and installed it, you may go on and turn On this language.
Here’s how you may add a new language to your computer –
- Press WinKey + I.
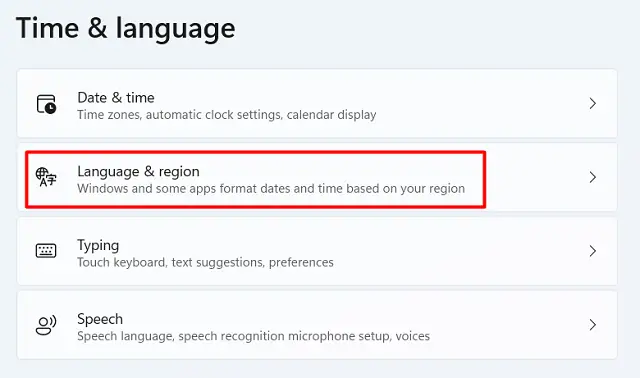
- When the Settings window opens up, select Time & language on the left pane.
- Select “Language & Region” next.
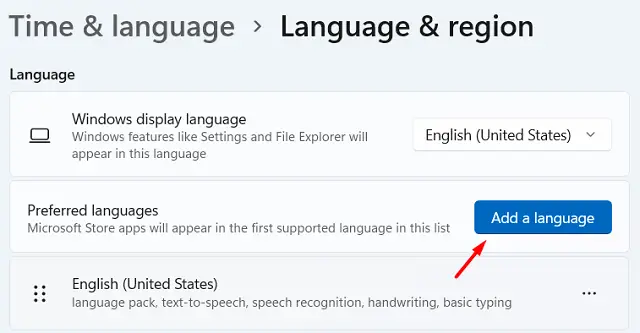
- On the right pane, click “Add a language” under the Language section.
- Type a language name and press Enter to initiate Windows searching for the typed-in language. Or, simply scroll down to the language that you want to add to your computer.
- Select it and hit the Next button.
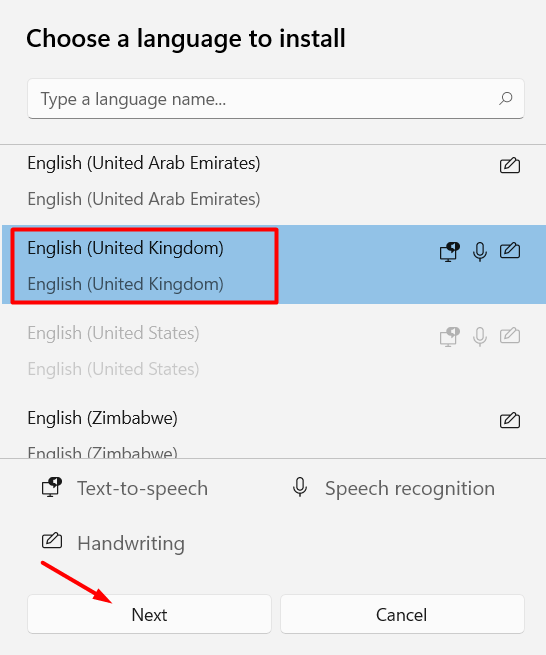
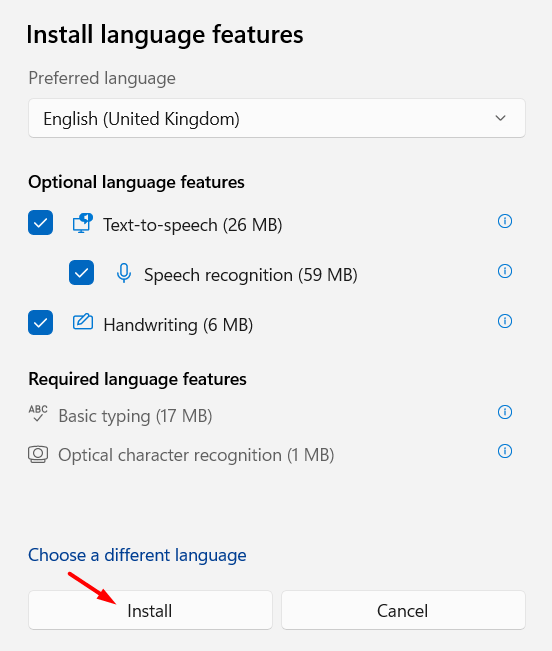
- Check all the boxes and hit Install.
Here’s how to enable the newly installed language on your PC –
- Press Win + Spacebar to jump to the next language. You may click the language icon on the taskbar to see all available languages on your computer.
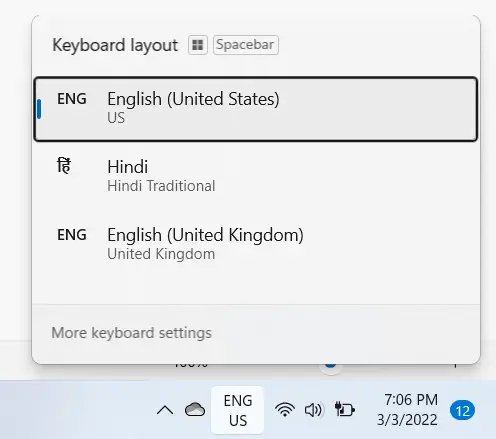
That’s it, just press Win + Spacebar, and the keyboard layout will change immediately.
2] Disable Language Sync on Windows 11
Even after manually changing the system language, it may change back to the previous one. This happens only if you had enabled the “language sync” feature on your computer. To overcome this issue then, you must stop your language settings from syncing. Here’s how can you disable the language sync on your PC –
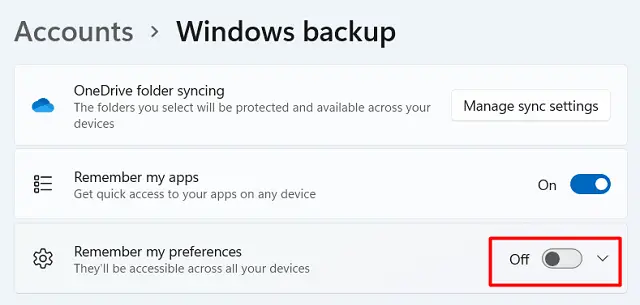
- Right-click on the Start (Win + X), and select Settings.
- Select Accounts and then Windows backup on the right pane.
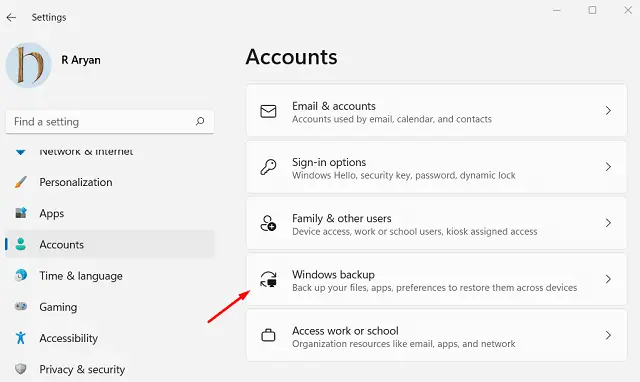
- When it expands, disable the toggle switch available besides “Remember my preferences”.
Now that you have syncing features on your computer, changing a language will most probably stick to the chosen one.
3] Configure Region as per your locale
In case you love to change the system language while staying at different locations, you should configure Language & Region setting. Here’s how you may do this –
- Press “Windows key + I” to launch Settings.
- Select Time and language from the left pane.
- Head over to the right pane and click “Language and Region”.
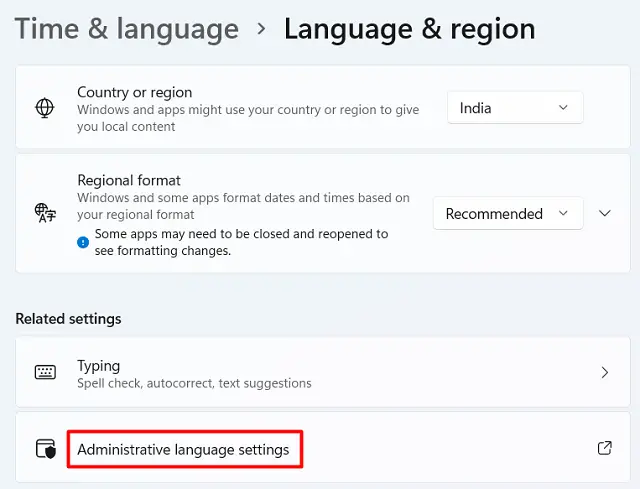
- Scroll down to the Region section, and select your locality using the drop-down menu next to “Country or region”.
- Use the Regional format’s drop-down menu, and choose the local language.
- Scroll a bit further, and hit – “Administrative language settings“.
- On the pop-up window, click the button – “Change system locale“.
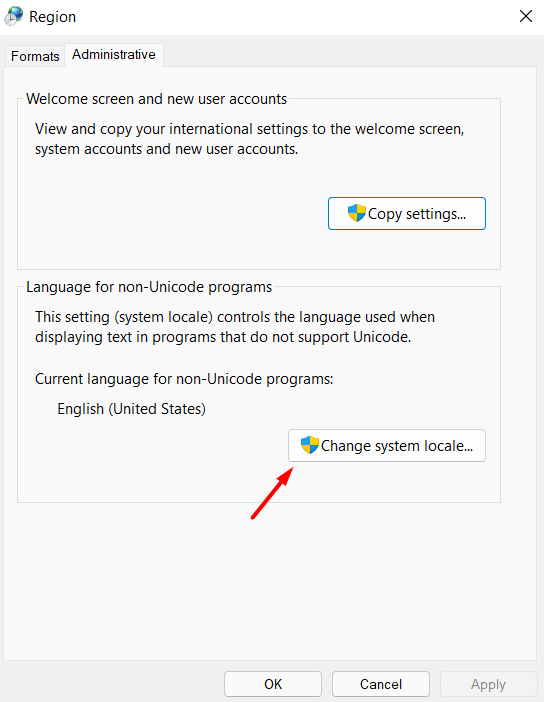
- A new pop-up window will appear next, change the current system locale by using the drop-down menu available beside it.
- If the below checkbox is not greyed out, tick this box and hit OK.
- The Change System locale will prompt restarting your computer. Well, do the same. In case you do remember some unfinished business, click Later.
- Go back to the Region window, and hit Copy settings.
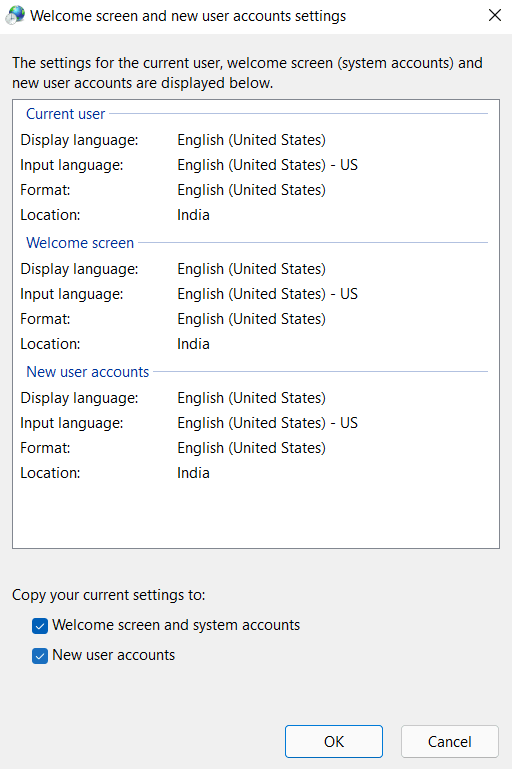
- Check the boxes – “Welcome screen and system accounts”, and “new user accounts”.
- Now, hit Apply then OK to confirm the changes made so far.
I hope this article helps you to change the default system language in Windows 11.