With Windows 11 release this Thursday (24th June), users across the globe are all excited to try this OS out on their devices. With an appealing and refreshing interface, the new Windows operating system catches everyone’s eyes. However, before you make the jump, check Windows 11 Compatibility so that your internet data doesn’t waste for no reason.
We are saying so because Microsoft has upgraded the minimum system and security requirements for its new release. Worry not, as you can always install Windows 11 by applying a few tricks here and there.
Check if your PC can run Windows 11
Before you install the new Windows OS, here are a few things that you must check –
Windows 11 Compatibility Check
Microsoft recently launched a new application that goes by the name “PC Health Check app”. This is a great initiative by the company to check minimum Windows 11 hardware requirements beforehand. Go and install the new OS only if you get a green signal from this software. Here’s how to check Windows 11 system requirements using this app –
- You need to first download this app by visiting the official site. Alternatively, here’s a direct link to download the PC Health Check app.
- When the installation completes, launch this software.
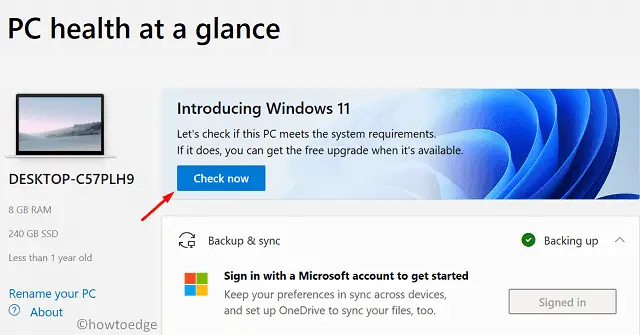
- On its home screen, there’s an option to check Windows 11 compatibility. All you require is to hit the button – Check now.

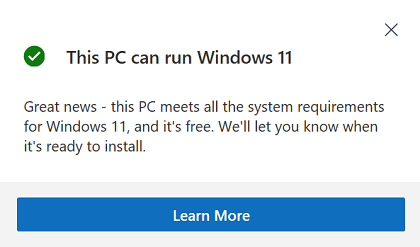
- You will get a confirmation message on whether your PC can or can’t run Windows 11. If you get a green signal as shown in the snapshot below, you will get a free pass whenever the new OS is ready.

What to do if your PC can’t run Windows 11
Since Microsoft has changed the security settings on Windows 11, several users are getting an error message saying – “This PC can’t run Windows 11”.

Well, this situation arises only on devices with disabled Security boot or TPM. You can check this by following these steps –
- Open Run by pressing Win + R.
- Type “
tpm.msc” and hit OK.
You will get either of these two results –
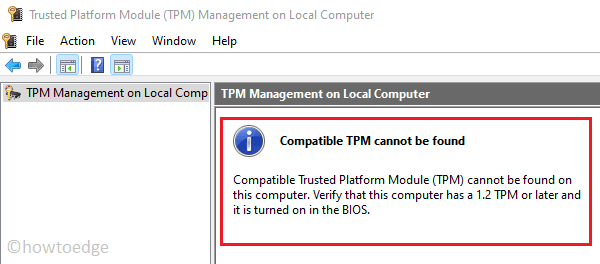
Case 1: Compatible TPM cannot be found
In this case, you will get the following error message –
Compatible Trusted Platform Module (TPM) cannot be found on this computer. Verify that this computer has a 1.2 or later and is turned on in the BIOS.

TPM is in general disabled inside the BIOS. So, the idea is pretty simple – Boot into your device BIOS, and enable it there. Make sure to enable the Secure boot (UEFI) as well.
Here’s how to solve the Error “This PC Can’t run Windows”.
Case 2: The TPM is ready for use
If you get this message, this implies TPM is all okay on your PC and you need to enable the secure boot (UEFI) only. To enable secure boot, use these steps –

- Restart your PC first and when it’s loading, press the boot key. This key varies from one device to another like Esc for ASUS, f9 for HP, and f10 for Dell laptops.
- Once you are inside the BIOS, go to the Boot tab. You will find Secure boot disabled inside this. Click once over the Disabled button and select Enabled.
- If you don’t find this setting under Boot, check if this is available inside the Security tab.

After you enable the Secure Boot on your PC, check if you can install Windows 11 without getting into any issue.
I hope you find this article useful and easy to follow upon. In case you are still facing problems installing Windows 11, let us know in the comment section.


