What is Error Code 0x80240016?
This update-related issue prevents your device from downloading and upgrading to its latest available OS Build version.
How to solve Update Error Code 0x80240016
To get rid of Error Code 0x80240016 in Windows 10, try the following:
1. Troubleshoot Windows Update
Run Windows Update Troubleshooter is the perfect tool if you are not able to update Windows. This will find and repair the underlying causes behind the 0x80240016 error. Even if it doesn’t solve the persisting problem, it will guide ways to overcome the issue at hand. Here’s how the process goes –
- First of all, navigate to the path below –
Settings (Win + I) > Update & Security
- Select Troubleshoot > Additional troubleshooters.
- Under Windows Update, click Run the troubleshooter.

- Next, follow the on-screen instructions to complete the remaining steps.
When you complete troubleshooting your PC, see if it indeed resolves the error code 0x80240016.
2. Fix System File or Windows Image Corruption
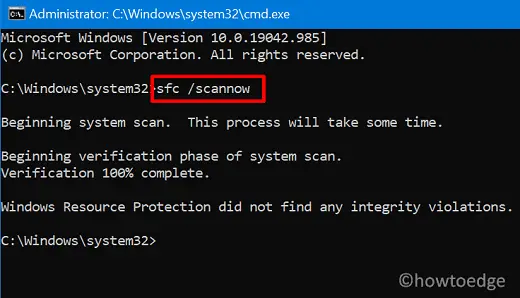
The presence of corrupted system files may stop your computer from getting updates. To ensure this is not the case, you should perform an SFC scan. Follow these steps to check your system files for possible corruption –
- Open Command Prompt as an Administrator.
- When the UAC window comes into the display, hit Yes.
- Type
sfc/scannowand press Enter.

- This whole process might take 15-20 minutes, so wait patiently.
- Once this is over, restart your PC.
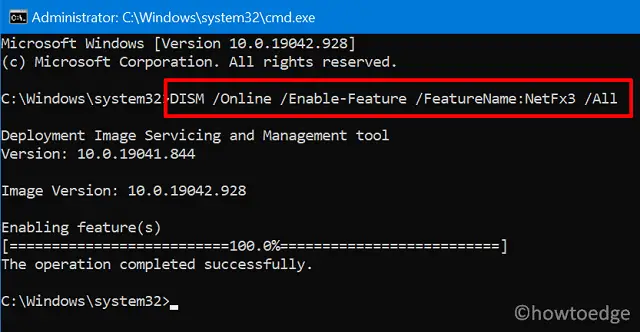
Sometimes, a corrupted Windows Image may also prevent your device from being upgraded. To check if this indeed is the case or not, you may take the help of the DISM tool. Here’s how to perform a Windows Image check for possible issues –
- Press Win + R to start the Run dialog.
- Type cmd, and press Ctrl + Shift + Enter.
- Hit Yes on the User Account Control window.
- In the Command Prompt window, type the following and press Enter –
DISM /Online /Cleanup-Image /RestoreHealth

Wait for this code to finish restoring your PC health. When it does, there won’t be any problem related to Windows Image. Check if this helps to get rid of the 0x80240016 bug on your device.
3. Clear Update Folders
Sometimes, such errors occur not because of some update-related issues but due to accumulated files inside the Update Cache folders. So, check and purge these folders to avoid any problems. Here’s how to do it –
First of all, you need to find the folders that may start update-related issues on Windows 10. There are basically two such folders and you may locate them at the following paths –
- SoftwareDistribution – C:\Windows
- Catroot2 – C:\Windows\System32

Visit the above paths separately and look for the above-mentioned cache folders in the search bar. When found, you have two options: delete them entirely or change their names to FolderName.old. Whichever option you choose, make sure to stop the update services beforehand to avoid any further issues. Here are the codes you must run on an elevated Command Prompt (Admin) to stop essential services.
net stop bits
net stop wuauserv
net stop cryptsvc
After you are done with renaming the cache folders, make sure to execute these commands to restart the services that you have stopped earlier –
net start bits
net start wuauserv
net start cryptsvc
Now that you have reset the updated components, check if the problem has been resolved or is still occurring on your PC.
4. Manually update Windows 10
Update errors are sometimes difficult to resolve. If you, too, are experiencing problems resolving an update error code, you may install the buggy update manually as well. Whenever Microsoft releases a security or optional update, it also uploads a standalone package corresponding to that particular update. You may find the executable in the Update Catalog. If you don’t know how to proceed, read this guide on how to manually install Windows 10 updates.
5. Use System Restore Points
If you created a restore point on your PC some time ago, you might use this backup to restore your device. Here’s how to use a system restore point on Windows 10.
If you haven’t created a backup of your personal files or folders, you don’t have any option other than clean installing Windows 10.


