- The update error code 0x80248007 occurs while installing pending updates on Windows PCs.
- We’ll discuss the reasons causing this error code and five working solutions that might help in addressing this error code.

What causes Error 0x80248007 on Windows 11?
The error 0x80248007 may occur on Windows 11 PC because of one or a combination of these issues –
- Internal Glitches: Try the troubleshooter
- Corrupted system files and folders: Attempt SFC Tool
- Corruption inside the System Image: Run DISM Scan
- Windows Cache folders are corrupted: Reset update Components
If the error persists even after trying the above fixes, you need to manually download and install the pending updates.
Update Error Code 0x80248007 Solutions
If you are not able to install pending updates on your PC, try out these workarounds in the exact order as specified below.
1. Run Windows Update Troubleshooter
Troubleshooting Windows Update is the first thing to do in case you are getting an update-related issue. Here’s how to run this tool –
- Right-click on the Windows icon and select Settings. Alternatively, you may also press Win + I to enter the Settings page.
- Select System on the left navigation and head over to the right pane.
- Click Troubleshoot and then Other troubleshooters.
- Under “Most Frequent”, you will find Windows Update. Hit the Run button available next to it.

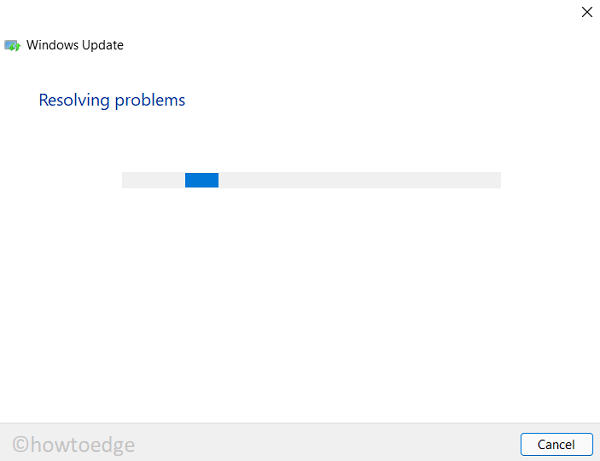
- The system will start detecting problems and will initialize the diagnostic page.
- Wait for a few seconds while this keeps on finding and resolving the underlying causes.

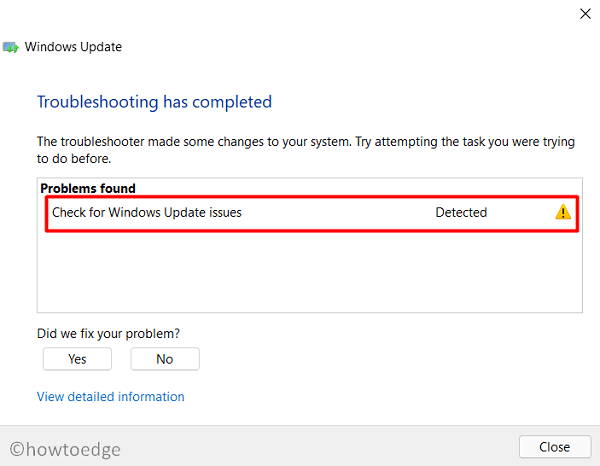
- Go and check if the update issue resolves on your PC. In case it is still occurring, hit No, and provide feedback to Microsoft.

- If this indeed solves the problem, click Yes and close this window.
Restart your PC next so that the recent changes come into effect from the subsequent login.
2. Run SFC/DISM scans together
The update error code 0x80248007 may also occur when your system lacks some important files or they have been corrupted somehow. To overcome this issue then, you must run both SFC and DISM scans together.
The first will find and resolve any problems with the system files and folders whereas the DISM tool will repair any corruption inside the System image. Here’s how you may run both these tools –
- Press Win + X, and choose Windows Terminal (Admin).
- When the terminal comes into view, execute the below command –
sfc /scannow
- Wait till this tool completes the scanning/repairing process.
- Once this is over, copy/paste this code, and press Enter –
DISM /Online /Cleanup-Image /RestoreHealth

- When this utility program completes repairing the corrupted system image, restart your computer.
Sign back into your device again and attempt updating/installing updates on your Windows 11 PC.
3. Restart Windows Installer Service
Update-related problems may occur when the Windows installer service stays disabled on your device. Go and check this service and if you find it disabled, restart it.
- Press Win + R to launch the Run dialog.
- Type “
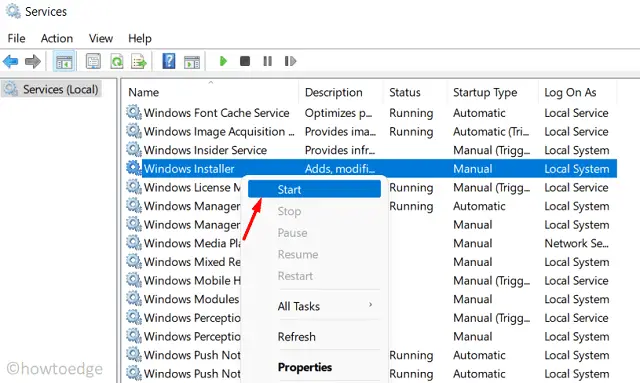
services.msc” and hit OK. - When the Services window launches, scroll down and locate the “Windows Installer” service. See its current status.
- If it is displaying “Stopped”, right-click on it and hit Start. Otherwise, right-click on Windows Installer and click Restart.

- Close Services, and restart your PC.
From the subsequent login, check if you are now able to install pending updates on your computer.
4. Reset update components
The presence of too many cache files inside SoftwareDistribution and Catroot2 folders may also prevent your Windows from updating. If that’s the case, you need to purge the contents of both these folders. Before you do so, make sure to disable all update-related services on your computer. Here’s a guide on how to reset update components on your PC –
- Launch CMD as administrator.
- On the elevated console, run these codes one after another. Make sure to press Enter after each command –
net stop wuauserv
net stop cryptSvc
net stop bits
net stop msiserver

- Rename SoftwareDistribution and Catroot2 folders by running these two codes –
ren C:\Windows\SoftwareDistribution SoftwareDistribution.old
ren C:\Windows\System32\catroot2 catroot2.old
- Restart all those services that you have stopped earlier by executing these codes –
net start wuauserv
net start cryptSvc
net start bits
net start msiserver

- Type “exit” and press Enter to come out of Command Prompt.
- Restart your PC and see if this resolves the update error code 0x80248007 on your device.
5. Manually install pending updates
If the update error code 0x80248007 is still occurring while downloading or installing available patches, you better get the recent standalone packages from the Update Catalog.
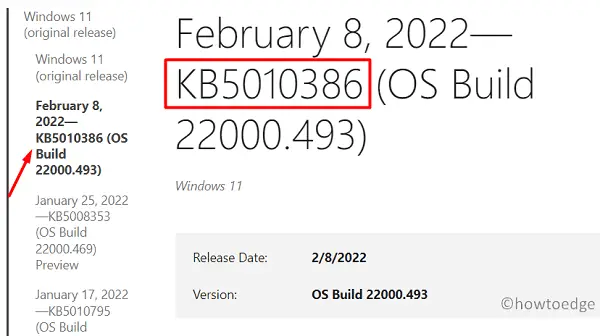
For each security/non-security/optional update that comes for Windows 11, Microsoft uploads a copy of it at its official site. Visit the Windows update history page, and click the top link on the left navigation. Note down the KB number that appears on the right pane.

Next, visit Microsoft’s Update Catalog, and paste the copied number on its search bar. Press Enter to view all available standalone packages. Pick your system architecture, and hit the Download button. Click over the top link to start downloading it. When the download completes, double-click on the setup file to update your Windows operating system.


