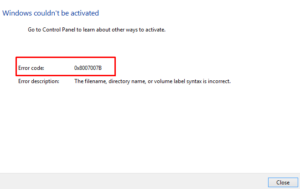
Windows 10 Activation Error Code 0xc004f014 is one of the most common errors that generally appear while trying to upgrade Windows in OEM systems. In general, users try to execute the upgrade process but if the Windows activation mechanism fails, it doesn’t allow them to run the process successfully. And during this, users may notice the following error message:
We couldn‘t activate Windows. Try activating Windows again or contact Microsoft support and reference the error code. You can go to Settings for more information
This tutorial includes four methods that will help you to fix the Activation Error Code 0xc004f014 on your computer. Let’s see how to use them.

Windows 10 Activation Error Code 0xc004f014
To fix the Windows 10 Activation Error Code 0xc004f014, use the steps –
1. Activate your Windows OS
If you have a working and valid Windows 10 product key, you can go along with this method. Follow the below steps to activate your Windows 10 version using a free call –
- Right-click on Start and select the Run option.
- Type slui 4 in the text box and hit Enter.
- On the next screen, select your country or region where you’re currently residing in. Don’t choose the wrong option because you’ll receive an automated phone call later on.
- During the call, readout your Installation ID clearly.
- After providing the Installation ID, you will get a “Confirmation ID” that will be used to activate the Windows copy.
- Now readout the same Confirmation ID again just to make sure you typed everything accurately.
- Click on the Activation button and the Activation Error Code 0xc004f014 should be fixed now.
- Restart your computer and check for the error.
2. Activate Windows using the default product key
If it fails to activate the Windows operating system, you can try to activate your Windows using the default product key. Microsoft has provided this key to deal with a situation like this. Follow the below steps to know the way to use the default product key to activate Windows 10:
- Right-click on your desktop screen, select New > Text Document and create a text file on your desktop with the generic registration key for Windows 10 Pro (it is not totally necessary, but I found this to be easiest), namely VK7JG-NPHTM-C97JM-9MPGT-3V66T, and your new Windows 10 Pro registration key.
- After creating the text file, you need to turn off all the network devices on your computer device. To do this, right-click on the Start button and select Network Connections > Ethernet.
- Go to the right pane, right-click on the Ethernet connection and select the Disable option.
- In the same way, disable your wireless connections as well and then restart your computer.
- Now open the text file which you have created on your desktop and then copy the generic registration key.
- Then open your Settings app (Windows+I) and click Update & Security > Activation.

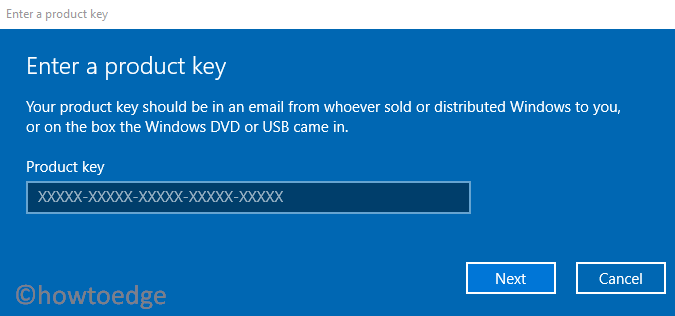
- Click the Change product key (in the right pane) option and then paste the generic registration key.
- Now click the Next button and follow the on-screen instructions to complete the upgrading process. During this period, your computer may restart multiple times during the process.
- Once it completes, log in to your device and open Settings > System > About.
- Go to the Windows specifications section, you’ll see that the Windows Edition is Windows 10 Pro.
- Visit the desktop area, open the text file, and copy (using Ctrl+C) the new Windows 10 Pro registration Key.
- Now open the Settings app, enable the Ethernet connection and the wireless network connections that you disabled earlier.
- Open Settings (Windows+I) > Update & Security > Activation > Change product key.
- Now paste the registration key in the text box and click the Next button.
- Wait for a while and you will receive a notification that says your copy of Windows 10 Pro is activated.
3. Run Windows Activation troubleshooter
Windows 10 comes with an inbuilt troubleshooter tool that can identify and problem and fix it automatically. You can run this tool and see if it works and solves the issue. Follow the below steps to run this troubleshooter tool:
- Right-click on Start and select Settings then choose Update & Security category.

- Select the Activation Tab then go to the right and click the Troubleshoot link.
- If UAC prompts on the screen, click the Yes button.
- This will open the troubleshooting wizard and start scanning your device.
- Wait for the scanning process to complete. If it finds the solution, follow the on-screen instructions to activate your Windows.
- If it fails to activate the Windows, select I changed hardware on this device recently option.
- Select your system name and then click the Activate option.
4. Change the product key using Command Prompt
Alternatively, you can change the product key using the elevated Command Prompt to activate your Windows 10 PC. But before you go through the steps, one thing here you should know that this method may take some time to implement or it might get activated right away. So, if you’re in hurry and want to activate Windows right now then you should probably skip this solution. Follow the below steps to change the product key using the Command Prompt:
- Open the Command Prompt as Administrator.
- In the command prompt window, type in the following commands and hit Enter to execute it:
vbs -ipk xxxx-xxxx-xxxx-xxxx
Note: In the above command, replace XXXX with your real Product key.
- Wait for a while until it completes the procedure and then restart your computer.
We hope you find this article helpful. If it’s then do comment and let us know which solution worked for you.


