In this post, we discuss how to create and rename files starting with Dot (.) on your Windows 10 operating system. Usually, when you try putting a dot character at the start while writing any file name, an error message appears saying – “You must type a file name.” Well, Microsoft now allows adding such files in Windows with its latest update to 19h1 or 20h1.
When do you require creating a file name starting with Dot?
Users were earlier prohibited to create any folder starting the Dot (.) as its first character. However, the same was allowed in cases where you are creating some images with file extensions like .png, .jpeg, or a notepad with the .txt extensions.
Microsoft has now removed this restriction with Windows 10 latest build updates. So, users may now create and rename files starting with Dot. To perform this task, one may either use File Explorer, or Command Prompt.
Create a System Restore Point using Command Prompt or PowerShell
Create or Rename Files starting with Dot (.) using File Explorer
File Explorer provides you with the easiest of all options to create or rename files starting with Dot (.). Follow the below instructions on how to perform this task in Windows 10 –
- Use the Window key + E to launch File Explorer.
- When the File Explorer opens up, locate the file that you wish to rename.
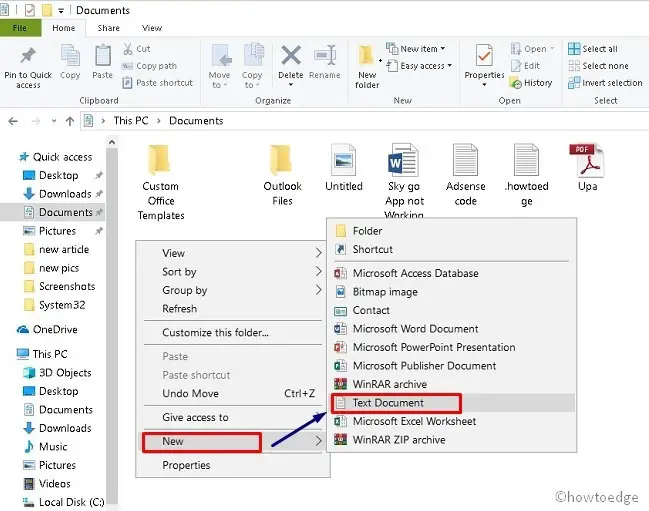
- Now right-click anywhere in the blank area and select Text Document using the context menu.
- Succeeding after, clear all the texts on the filename and then put a specified name starting with a dot (.). Say for example,
.howtoedge. - Lastly, click anywhere outside of this file and see whether a file starting with dot (.) appears or not.

If you are on the latest versions of Windows 10, this method will surely work. If not, this must be because Windows is not letting you perform this task. In that case, proceed ahead with the next solution.
Rename Files Starting with Dot (.) using CMD
Users may also rename Folders/ files starting with Dot (.) using the Command Prompt. Here’s an explanation of how to perform this task in Windows –
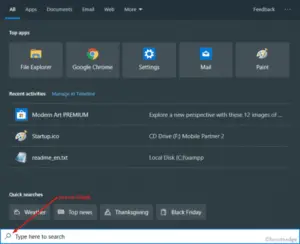
- Press Win + S first, and type Command Prompt in the text box.
- Right-click on the top result, and select Run as administrator.
- If the UAC prompt appears, click Yes to permit access.
- Navigate to the specific file that you want to edit or start its name with a dot (.). Type the following path and hit Enter to execute the command-
mkdir<space>.FolderName
- For example:
mkdir .howtoedge - Here you can view the folder name displaying .howtoedge. For a better understanding, see the Snapshot below –

That’s it, you have successfully created a new directory (folder) starting with Dot (.) in your user account folder. Go to C:\Users\<username>, and you will find the recently generated directory available there.
How to show file extensions in Windows 10
To identify the extension of any specific file like .jpg or .txt, you have to follow these steps –
- Go to the taskbar and click over the File Explorer icon.
- Alternatively, you may also press the Win logo and E to quickly launch Windows Explorer.
- On the File Explorer window, switch to the View tab then use the Options drop-down menu to select the “Change folder and search options.”

- When the Folder Options window opens up, go to the View tab and uncheck the checkbox reading “Hide extensions for known file types.”

- Click Apply and then OK to save the current changes.
That’s it, each and every file in Windows now will display the file extension next to it.


