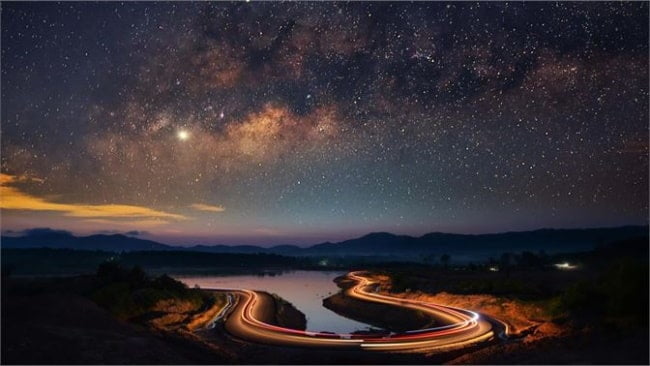
Windows 10 adds two stunning themes to its collection database – Treehouses and Night Skies. In this post, we discuss Night Skies Premium Theme in detail along with steps to apply this to your Monitor Screen.
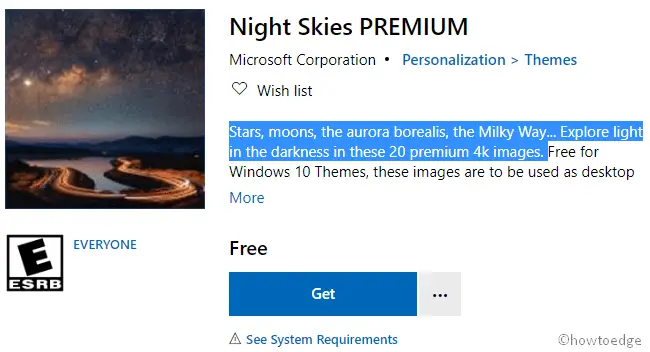
Stars, moons, the aurora borealis, the Milky Way... Explore light in the darkness in these 20 premium 4k images.
This is a lightweight theme that takes only 9.8 MB space of HDD storage. Rated for all ages, this is totally a worth-downloading personalizing app for Windows 10 Desktops. Just sign in to your official Microsoft account and enjoy its super cool images featuring Stars, moons, the aurora borealis, the Milky Way, and several others. Let’s explore a little bit more about this theme –

How to Get Night Skies Premium Windows 10 Theme
To download and apply Night Skies Premium Theme in Windows 10, use the below steps –
- Launch the default web browser and visit the official theme page.
- If this asks to sign in to your Microsoft account, do the same.
- Afterward, hit the Get button.

- The browser will take you to the Windows Store, hit the Get button again.
- In case your PC matches all of the minimum system requirements, the downloading starts automatically.
- Once the installation finishes, the “Apply” button becomes active.
- Click Apply to reach out to the Theme section under Settings UI.
- Now, jump to the right side and select “Night Skies Premium”.
That’s it, you may now enjoy its 20-night outs pictures on the Desktop Screen.
Usually, changing the default theme modifies the default color scheme as well. In case you don’t like the current color combination, you may modify this navigating to the path –
Settings UI > Personalization > Color
System Requirements
Before applying “Night Skies Theme” to your Windows 10 device, make sure you meet the below characteristics –
- Windows 10 OS – version 14951.0 or higher
- System Architecture – x86, x64, ARM, ARM64
Since you are here, you may like these premium themes as well –


