Microsoft brought a new feature for all Windows 11 Dev Channel users with its Build number 23481 and this was titled Copilot AI. If you are already an insider, navigate to Settings > Personalization > Device usage, and you will find different hidden features along with an option to enable this new Copilot AI on your Windows 11 PC.
However, if you are using a beta or a stable version of Windows 11, this feature will take some time to appear on your PC. If you love this feature and want to activate using this feature on your computer, you may certainly do so by using a third-party tool called ViVeTool. Do note that you need not require switching to either the Dev or Beta versions of Windows 11 for this.
What is Microsoft Copilot and how does it work on Windows 11
Enable New Copilot AI on Windows 11
If you want to try out the new Copilot AI on your Windows 11 PC, follow these easy steps –
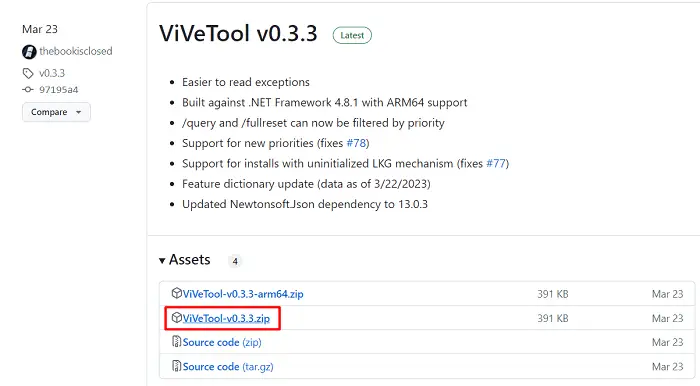
- Open your default browser, and navigate to the GitHub website.
- Download the latest version of ViVeTool from here. This tool will download as a Zip folder.
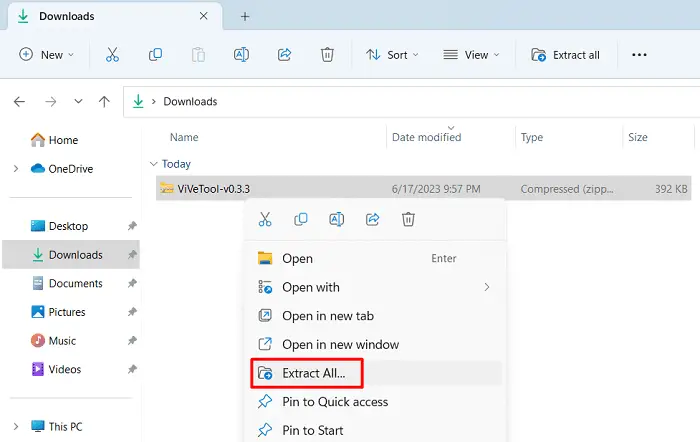
- Right-click on the zipped folder, and select “Extract all“.
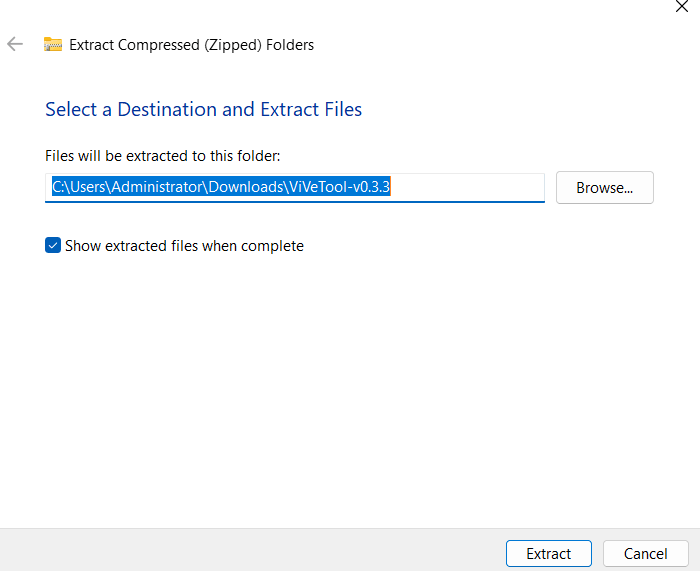
- A new pop-up window will appear next asking where you would like to extract this ViVeTool on your computer. The default path would be inside the Downloads folder. If you want to change it to some other folder, click Browse and reach out to the folder where you would like to extract this folder.
- Click Extract to begin extracting all the files and applications available inside this zip folder.
- Open the newly extracted folder, and copy its path. In our case, it is –
C:\Users\Administrator\Downloads\ViveTool-v0.3.3

- Use Windows + X next and select Terminal (Admin) from the Power Menu.
- Press Ctrl + Shift + 2 to launch the CMD as an administrator inside the terminal.
- On the elevated console, execute the following codes one after another –
cd extracted_folder_path
Note: Make sure to replace extracted_folder_path in the above command with the one you copied before.
- The Command Prompt syntax will now come to the chosen ViVeTool-v0.x.x.
- Copy/paste the below code next and press Enter again. See the Snapshot below.
vivetool /enable /id:44788892

That’s it, you have successfully enabled ViveTool on your Windows PC. Restart your computer next so that the recent changes come into effect from the next login.
What commands to use to enable Copilot AI at different places?
ViveTool lets you enable Copilot using different system tools on Windows PC. Some of the common ones are enlisted below. Make sure to choose only one option from the available ones.
1] Command Prompt:
Open the Command prompt as administrator and run the following code over it –
"C:\Users\username\AppData\Local\Microsoft\Edge SxS\Application\msedge.exe" --enable-features=msEdgeAskCopilot,msShorelineToolbarWinCopilot,msUndersideSidebarPinning,msEdgeSidebarIntoFRE,msStandaloneSidebarFramework --flag-switches-begin --flag-switches-end
Note: Do change the username with your actual one in the above codes.
If the above code doesn’t work for you, you may run this single-line code to enter Microsoft Edge’s location.
cd C:\Users\username\AppData\Local\Microsoft\Edge SxS\Application
And then, run this code to enable Copilot AI on your computer –
msedge --enable-features=msEdgeAskCopilot,msShorelineToolbarWinCopilot,msUndersideSidebarPinning,msEdgeSidebarIntoFRE,msStandaloneSidebarFramework --flag-switches-begin --enable-features=msEdgeAskCopilot,msShorelineToolbarWinCopilot,msUndersideSidebarPinning,msEdgeSidebarIntoFRE,msStandaloneSidebarFramework,msEdgeJSONViewer,msEdgeMinimumToolbarTitleBar,msEdgeMoveAvatarButtonToFrameView,msEdgeReadingView,msEdgeShare,msEdgeSplitWindow,msEnableDeveloperControlCenter,msEnableShyUI,msOverlayScrollbarWinStyle:scrollbar_mode/enable_settings,msPhoenixShowContainersInEdge,msRobin,msSwipeToShyUi,msVisualRejuvMaterialsMenu,msVisualRejuvRoundedTabs,msWebAppLinkHandling,msWebAppLinkHandlingWinIntegration,msWebAppWidgets --flag-switches-end
As stated earlier, change the “username” in the single-line command to your actual username and press Enter.
2] Via Run:
Press Windows + R to launch the Run dialog. When it launches, copy/paste the below command, and press Enter –
%localappdata%\Microsoft\Edge SxS\Application\msedge.exe --enable-features=msEdgeAskCopilot,msShorelineToolbarWinCopilot,msUndersideSidebarPinning,msEdgeSidebarIntoFRE,msStandaloneSidebarFramework
Assuming you did activate Copilot AI on your Windows 11 using the two methods provided above, restart Microsoft Edge via task manager or simply kill all Edge processes. For this, press Windows + X, and select Windows Terminal (Admin).
The UAC prompt will appear next, copy/paste the below command over it, and press Enter –
taskkill /im msedge.exe /f
That’s it, you may now click on the Bing button to open Copilot via Microsoft Edge.
How do I disable using Copilot AI in Windows 11?
If you ever change your mind and want to disable using Copilot AI on your computer, all you require is to open Command Prompt as administrator again, and this time, execute this code over it –
vivetool /disable /id:44788892
Restart your computer next and check if Copilot AI stopped appearing inside Microsoft Edge from the subsequent login.


