Did you encounter an update error 0xc190012e while upgrading your operating system to its next available OS Build version? Well, in this post, we have covered all possible reasons that may cause this issue, along with six working fixes for it.
When this error occurs, Windows Update simply fails and displays the following error message – “Your device is missing important security and quality fixes”.
Note: This is a common bug that appears mostly on Windows 10 and even on Insider Previews.

What may cause an update error 0xc190012e in Windows?
The Windows Update error 0xc190012e primarily occurs due to corrupt system files, obsolete Update components, or stored cache. To get rid of this bug, you may repair corrupt system files, delete temporary files, troubleshoot Windows Update, etc.
Sometimes, improving BCD may also help you to overcome this update error code. If the issue persists even after this, try running the DISM command to check the disk health performance.
Let’s explore these methods in detail –
Methods to solve Windows Update error 0xc190012e
Here, we depict step-wise different workarounds to fix Windows Update error 0xc190012e on Windows 10 PC.
1. Reset Windows 10 update components
Resetting Windows Update components is the best way to diagnose the Update error 0xc190012e while upgrading your PC. Follow these steps to reset the Update Components in Windows –
- Download Windows Update troubleshooter from the official site.
- Once the wizard appears in front of you, select Windows Update.
- Now hit Advanced followed by Run as administrator.
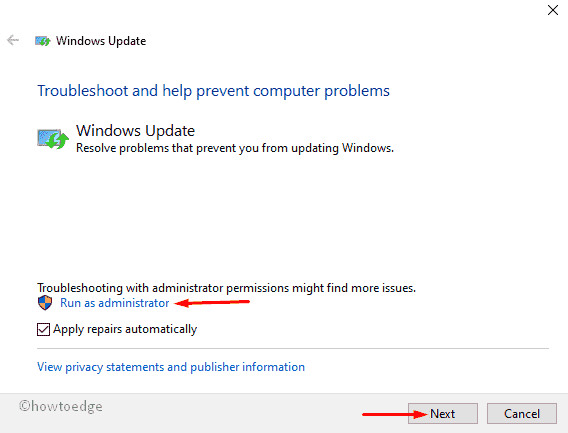
- Succeeding after, select Windows Update followed by the Next button.

- Wait for a while till the task gets completed. After this, close the troubleshooter.
- Move to the Windows Update troubleshooter wizard again.
- Select Advanced from the appeared window and choose Run as administrator.
- Here, choose the second option i.e. Windows Network Diagnostics followed by Next.

After completing this process, Restart your system and update the system normally.
2. Clear temporary files
The temporary cache stored in the HDD may also cause this update error 0xc190012e on a Windows PC. Remove all the temporary files from the root drive and check if this update issue resolves afterward.
- Press Win + S together to launch Search.
- Type Disk Cleanup in the search bar and double-click on the top result.
- In the next window, select the root drive (mostly C:) followed by OK to proceed.
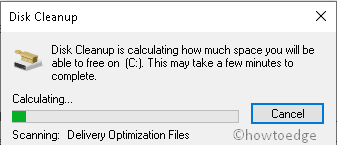
- Wait for a few seconds, while Windows is calculating the cache.
- Here, mark all the checkboxes thereafter OK to remove it.
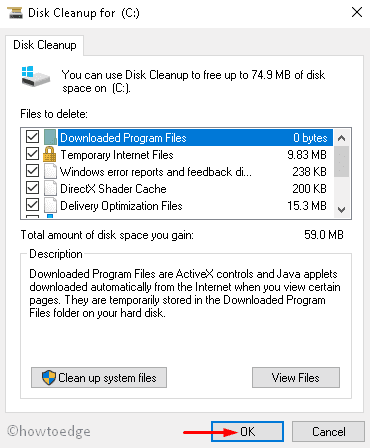
Once finished, Restart your PC and check if the problem 0xc190012e arises while updating or not.
3. Run the SFC command
Missing or corrupt system files may also cause different issues on your Windows PC. The System file checker command may help you to find and repair the corrupt system files on your computer. Follow these steps –
- Press WinKey + S.
- Type Command prompt in the search field and right-click on the well-matching result.
- Select Run as administrator from the context menu.
- If UAC prompts, tap Yes.
- Near the blinking cursor, type the following code thereafter hit Enter key.
sfc/scannow
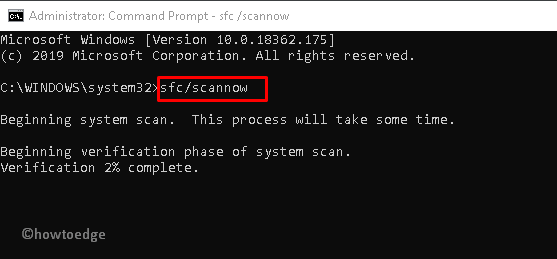
- This will take approx. 10 minutes to complete the whole scanning and repairing process.
Once the above process is over, reboot the PC and try to update again. Hope this time, you will not receive any issues while updating.
4. Run CHKDSK command
Usually, the bad sector in the disk drive may also make your PC operations slow; thus popping a 0xc190012e error. If that’s the case, use CHKDSK (an inbuilt app of Windows) to repair such bugs. Here is the complete guideline-
- Open Command Prompt as an administrator.
- Make a right-click on the well-matching result and select Run as Administrator.
- If the UAC dialog appears, tap Yes.
- Near the blinking cursor, type the following code and hit Enter to execute the same.
chkdsk C: /f /r /x

- Here C: denotes the root drive, and f implies fixing the issue. Similarly, r is there to identify the problem and X instructs the concerned volume to scan.
- Next to this, press Y to start scanning.
After you complete the above steps, Restart your PC. From the next login, you should no longer receive this error.
5. Purge Windows Cache Folders
Windows Cache folders contain the relevant information about all past updates. These data become obsolete over a period of time and may even trigger an update error. There are two such folders and it is suggested to purge both these folders. Here’s how to perform this task –
- Press Win and R to launch Run.
- In the void box, type cmd and simultaneously press Ctrl+ Shift+ Enter to launch Command Prompt as Admin.
- When UAC prompts, tap Yes.
- On the elevated prompt, type the following command lines. Make sure to press Enter at the end of each command.
net stop wuauserv
net stop cryptSvc
net stop bits
net stop msiserver
Ren C:WindowsSoftwareDistribution SoftwareDistribution.old
Ren C:WindowsSystem32catroot2 Catroot2.old
net start wuauserv
net start cryptSvc
net start bits
net start msiserver
- At last, Reboot your System to save the changes made so far.
6. Manually Update Windows 10 (using ISO file)
In case, you are still struggling with Windows Update error 0xc190012e, it is better to Upgrade your Windows 10 with the latest version. Go through the below instructions –
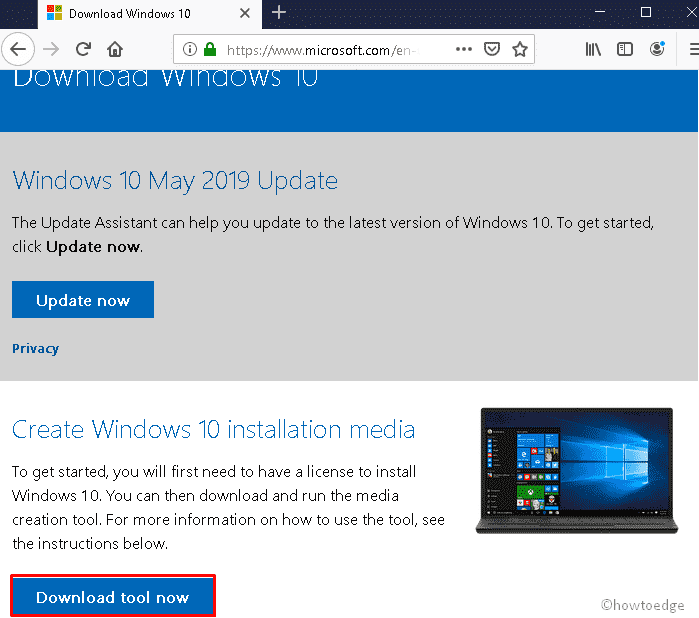
- Firstly go to the Microsoft official website and click the Download tool now button.
- When the Media Creation Tool is downloaded, right-click on it and select Run as Administrator.
- Afterward, choose to Upgrade this PC now and click the Accept button to proceed further.
- Make sure that you have selected keep your files and apps on the succeeding window.
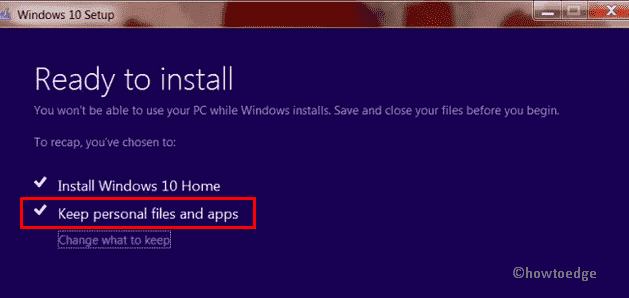
- Tap Install and follow the on-screen instructions to complete the upgrade.
- The installation process will begin automatically. This will take several minutes to complete the new operating system installation.
I hope this article helps you troubleshoot the error 0xc190012e on Windows 10.


