Want to set up a local WordPress environment with XAMPP? This is really a great idea if you want to create a development site for testing or other purposes. XAMPP allows you to test any plugins, themes, and other things before you literally apply them to your live WordPress site. It comes with Apache and MySQL which are the two major components to complete its installation.
However, a local installation of WordPress and XAMPP on your Windows 10 PC can be a little bit tricky. You might be needed a helping hand to install and configure XAMPP flawlessly. So without further ado, here is the way to get your local WordPress site with XAMPP.
Install and Configure XAMPP on Windows 10 PC
To install and configure XAMPP on Windows 10, use the following steps –
Download and Install XAMPP
To get it started, navigate to the official website of Apache Friends first. Now, check your Windows version and click on the Download button.
After downloading the file, double-click on it to launch the XAMPP installer. If UAC prompts and asks you for permission, click Yes.
If you are prompted with a warning message there, click OK to open the Setup Wizard.
In the XAMPP Setup Wizard, hit Next to continue.

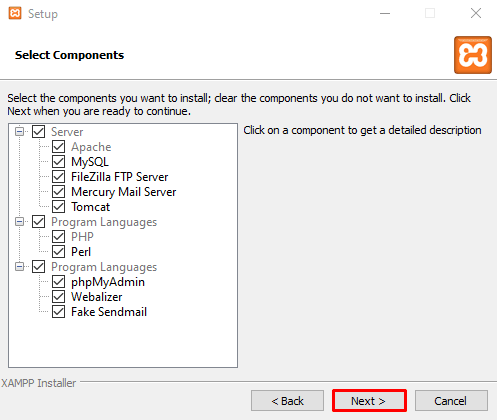
The next screen shows you a variety of components that you can select or leave. These options are essential to run the application, therefore it’s recommended to leave the default options and click Next.
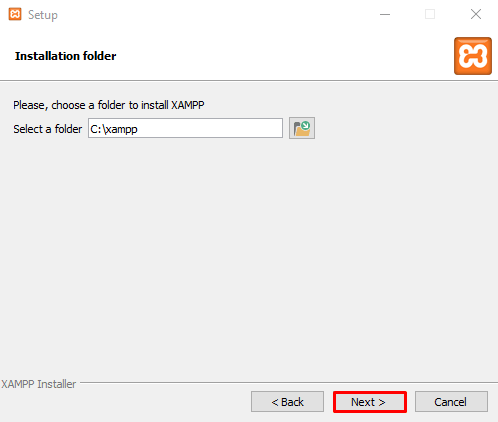
Select the folder location where you want to install the XAMPP files. You can select any location you want but we suggest you use the default installed locations, then click Next.
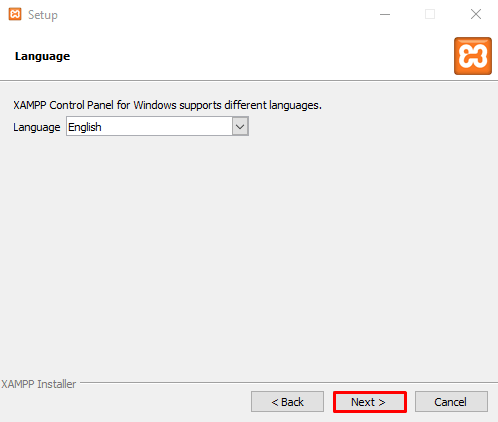
Choose your preferred language and click the Next button.
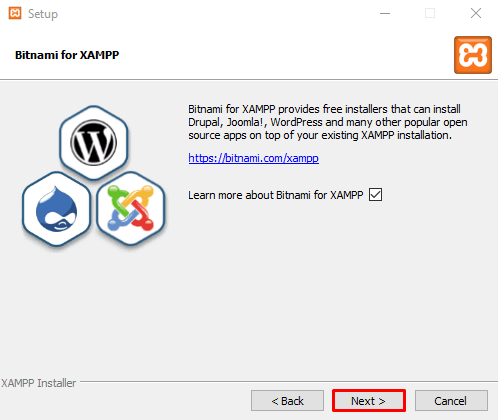
Uncheck the Learn more about Bitnami for XAMPP and hit Next.
Now the setup is ready to begin the installation process, click Next to proceed. Wait for a couple of minutes until the installation process gets completed.

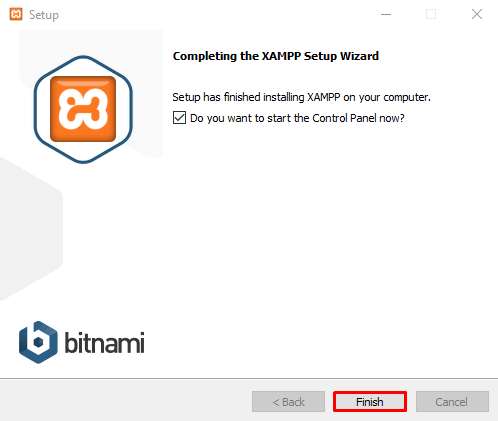
Once you complete the installation, a new window will appear and ask to start the Control Panel.
Select the checkbox, hit Finish, and see if the XAMPP is working perfectly.
Configure XAMPP on Windows 10
After installing XAMPP on your PC, open the XAMPP Control Panel. Once it opens, you will see three main sections available there. Under the Module section, you will get all the web services. To start these services, you need to go to the Actions section and click on the Start button one after another.
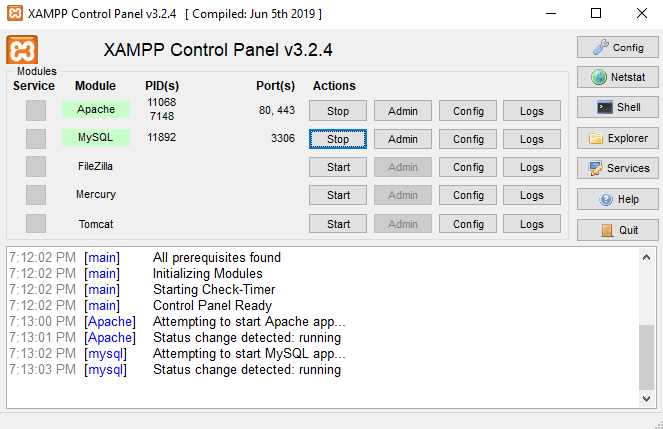
To configure XAMPP, you just need to activate the Apache and MySQL services. Once you start the services, you will see they get highlighted green and start showing the process ID (PID) number and TCP/IP port (Port) numbers. By default, Apache runs on port 80 and 443, while MySQL is set to use port 3306.
For each service, there is an Admin button in the Actions section. You can use them to get access to the administration dashboard and to check everything is working perfectly.
On the right side, you will see a list of buttons like Config, Services, Shell to configure different perspectives of the control panel.
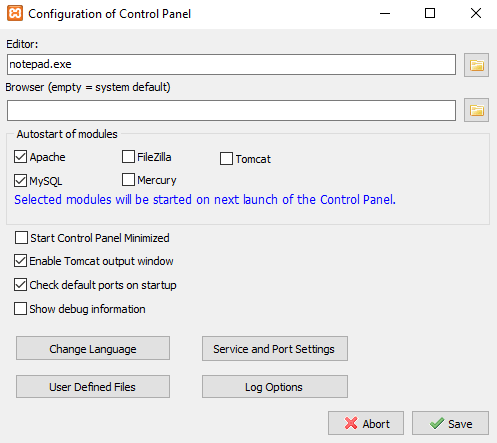
The config button configures which modules start automatically on launching XAMPP. Clicking on this button, it opens the configuration windows of the Control Panel where you can mark the modules checkbox you want. The selected modules will start automatically when you will launch the application.
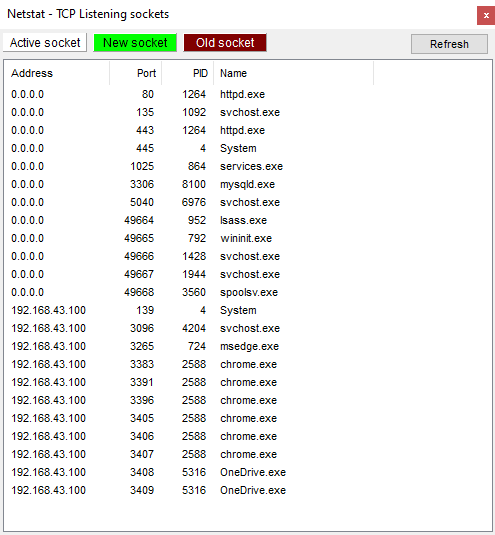
Next, you will see the Netstart button. Clicking on this button, it will open a list of services currently accessing the network, including TCP/IP port, address, and process ID information.
From the XAMPP Control Panel, there are also quick access buttons to launch the shell command-line utility, Windows Explorer, and Services.
And at last, you see a logs section, where you can observe what happens when you start a module or change a setting.

Quick Note:The default XAMPP server settings should work perfectly to create a testing environment and to run a website. But if you need, you can adjust the settings like TCP/IP port number, the password for phpMyAdmin, etc. In order to change these settings, you’ll need to click the respective Config button and then select the corresponding file. For example, to change the Apache server settings, click Config > Apache (httpd.conf). Similarly, if you need to change the MySQL server settings, click Config > my.ini. |
That’s it.