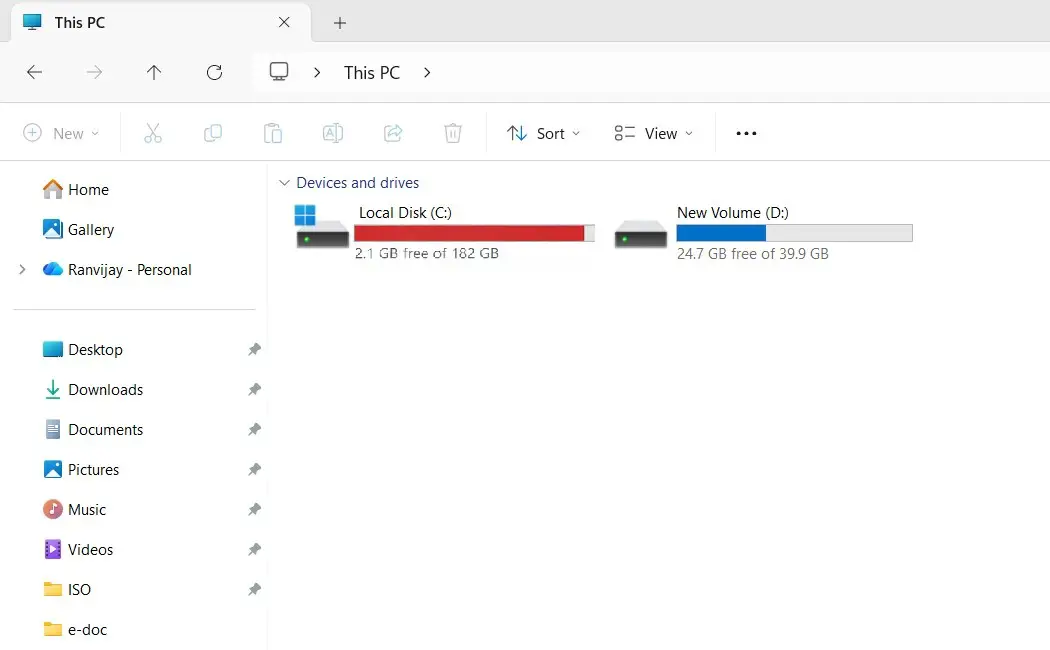
Yesterday, when I opened my computer, I found my SSD showing almost no free space. I was completely surprised as I hadn’t downloaded any large files or installed heavy software. At first I assumed it was something obvious. So I did what most people do:
- emptied the Recycle Bin
- cleared the Downloads folder
- removed some temporary files
But to my surprise, no space recovered. Something was eating up system resources, but I was not knowing about them. That’s when I dug deep and found what actually happened on my computer. When your disk fills up mysteriously, the problem is usually hidden system folders, not your personal files.
After digging through my system with a disk analyzer, I found several places where Windows quietly stores gigabytes of data. If your SSD is filling up without explanation, try these fixes. One of them will likely solve your problem.
1. Clean the WinSxS Folder
Windows stores backup versions of system files in a hidden folder called WinSxS.
Location: C:\Windows\WinSxS
This folder grows in size with every Windows update you install on your computer. One should not delete these files manually, nor should you. You may use CMD with administrative privileges to clean this folder. Here’s how:
- Open Command Prompt as Administrator and run the below code on its interface.
DISM /Online /Cleanup-Image /StartComponentCleanup
- This command will automatically remove outdated components and often frees several gigabytes.
2. Check AppData Folder
There are many applications running on a Windows PC, and each one of these apps stores some part of its cache inside the AppData folder. So, if you’ve been using your computer for a long time, AppData is often the biggest hidden storage user.
Location: C:\Users\YourUsername\AppData
This folder basically contains the following information about you or your PC:
- browser caches
- application logs
- leftover files from old programs
This is the folder where browsers like Chrome, Edge, and Firefox can store huge caches here. So, you must open this local folder and look for the following folders inside it.
- Temp
- Cache
- GPUCache
Just navigate to the path “C:\Users\YourUsername\AppData” and clear the above-named folders. This way, you may easily recover 10–30 GB on heavily used systems.
3. Remove the Windows.old Folder
When you install a major Windows update on your computer, Windows keeps a backup of your previous installation.
Location: C:\Windows.old
This folder exists in case you want to roll back to the previous version. But if your system is working fine, it’s safe to remove it. You may use the Disk Cleanup tool to remove this folder from your computer. Doing this alone can free 10–35 GB.
4. Clear the Windows Update Download Cache
Windows stores update packages before installing them. Sometimes these files remain even after updates are completed.
Location: C:\Windows\SoftwareDistribution\Download
To clean it safely, run these commands in Command Prompt as Administrator:
net stop wuauserv
rd /s /q “C:\Windows\SoftwareDistribution\Download”
net start wuauserv
net start bits
Make sure to restart your computer after you run the above codes successfully on your PC. Doing so will remove the leftover update downloads that may be taking up several gigabytes.
5. Delete Temporary Files
Windows constantly creates temporary files during installations and system operations. These files often remain long after they are needed. You can clean them easily through Windows settings:
- Open Settings (Win + I)
- Go to System and then to Storage
- Click Temporary Files

Windows will show items like:
- temporary files
- thumbnails
- recycle bin items
- update cleanup files
Removing these usually frees a few gigabytes instantly.
6. Reduce System Restore Storage
System Restore creates snapshots of your system so you can recover from problems. Though this is a very useful feature that can revert your PC to an earlier point of time, these restore points often take up a surprising amount of space. So, I suggest getting rid of them by following these easy steps:
- Search for “Create a Restore Point” after pressing Win + S.
- Select your system drive
- Click “Configure” to manage the already existing restore points on your PC.
You may now
- delete old restore points
- reduce the maximum storage size
This can free several gigabytes depending on your settings.
7. Use a Disk Analyzer
This is one of the fastest ways to find the problem that is depleting your system storage and showing almost full storage. Disk analyzer tools show exactly what is using your storage. Some excellent tools are as follows:
- WizTree – extremely fast scans
- TreeSize Free – easy to navigate
- WinDirStat – detailed visual map
When I scanned my system with one of these tools, I immediately saw which folders were consuming the most space.
Within minutes I knew exactly where the problem was.
A Simple Habit That Prevents This From Happening Again
After going through all this and finally recovering my storage, I realized something: I didn’t want to deal with this problem again. So I turned on a small Windows feature that quietly keeps things clean in the background. It’s called Storage Sense. You can enable it in just a few clicks:
Settings → System → Storage → Storage Sense
Once it’s turned on, Windows automatically removes things that usually pile up over time, such as:
- temporary files
- items sitting in the Recycle Bin
- old downloads
- leftover files from Windows updates
In other words, Windows starts doing the cleaning for you. Since enabling it, I rarely have to think about disk space anymore.
Three More Hidden Space Hogs Worth Checking
By the time I reached this point while cleaning my own system, I had already recovered a good amount of space. But I was curious about where else could Windows be quietly storing data?
That’s when I discovered three more places that can sometimes take a surprisingly large chunk of storage. Not every computer will have a big problem here, but if your SSD still feels tight, these are definitely worth a quick look.
8. The Hibernation File (hiberfil.sys)
Windows has a feature called Hibernate, which saves the current state of your computer so you can resume exactly where you left off later. To do this, Windows stores everything from your system memory into a file called hiberfil.sys.
You won’t normally see this file because it’s hidden, but it lives at “C:\hiberfil.sys.“
The interesting part is that the file size is usually 40–75% of your RAM. So if your computer has 16 GB of memory, this file alone could be taking 8–12 GB of disk space.
If you never use Hibernate, you can safely remove it. You may do this running a simple code on your Command Prompt and that is – “powercfg -h off“
Windows will immediately delete the file and free up the space. If you ever want Hibernate back, you can simply run the following: “powercfg -h on” on the Command Prompt with administrative privileges.
9. The Page File (pagefile.sys)
Another hidden file you might hear about is pagefile.sys. This is part of Windows’ virtual memory system. When your RAM starts filling up, Windows temporarily moves some data to this file so your programs can keep running smoothly.
It’s an important feature, so I usually recommend not disabling it completely. However, depending on your system, the page file might be using several gigabytes of storage.
If you have plenty of RAM, you can reduce its size. You can find the setting here:
Search → Advanced System Settings → Performance → Settings → Advanced → Virtual Memory
From there you can adjust how much space Windows is allowed to use. For many systems, limiting it to a few gigabytes works perfectly fine.
10. The Recycle Bin
This one is surprisingly simple, but many of us overlook it. When you delete files, they don’t disappear immediately. They go into the recycle bin, which keeps them around in case you change your mind.
Over time, this bin can quietly accumulate gigabytes of deleted files. In fact, Windows often allows the Recycle Bin to store up to about 5–10% of your disk space. So it’s always worth taking a second to right-click the Recycle Bin and choose Empty Recycle Bin.
You can also open its Properties and reduce how much space it’s allowed to use.
Do note that none of these three items are the main culprit; however, together they can sometimes recover another 10-30 GB of your system storage.
None of these three items are always the main culprit, but together they can sometimes recover another 10–30 GB of storage.

