Many a time, update errors occur displaying missing root certificates like error 0x800b010a. If you have also encountered such an error code, let us learn what these trusted root certificates are and how to manage them on Windows PCs.
When disabled, these certificates prevent other users in the domain from configuring their own set. This is where it becomes essential to add or manage these certificates.
What are Trusted Root Certificates in Windows?
Trusted Root Certificates are basically some fundamental component of the public key infrastructure (PKI) in Windows. It is their responsibility to ensure the security of digital communications including web browsing, email, and any other online activities. They play a very crucial role in establishing trust and security in the digital world.
Downloading and Installing a Trusted Root Certificate
Before you add or manage such certificates, it is essential to first download and install these certificates. To download Trusted Root Certificates, open your default web browser and navigate to your local certification server. You may have a look at Microsoft’s page to install these certificates via PowerShell.
Note: It is important to have the same certificate of authority used for generating the server and, optionally, client certificates.
- Once you visit the official site, choose and then download a CA certificate, certificate chain, or CRL link, as needed.
- Select the appropriate certificate of authority from the list and choose the Base 64 Encoding method.
- Moving forward, choose the Download CA certificate link and then choose the Open option when prompted to open or save the certificate.
- When the certificate window opens, choose Install Certificate…. The Certificate Import wizard appears.
- In the wizard, choose Next. Then, when you are prompted for the Certificate Store, choose Place all certificates in the following store. Select the Trusted Root Certification Authorities store.
- You may now follow the on-screen instructions to complete the installation process.
- After you have successfully installed the certificate, hit Finish.
Now that you have installed certificates on your PC, follow the below sections on how to either add or manage them while being inside the Microsoft Management Console.
Adding Trusted Root Certificates in Windows
Before you manage any trusted root certificates, let’s first learn how to add such certificates on Windows. Here’s how to do that –
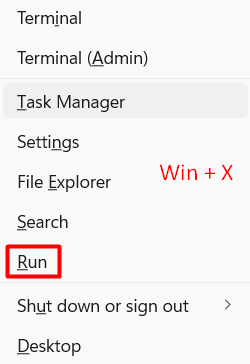
- First of all, press Windows + X, and select Run from the available options.
- Type
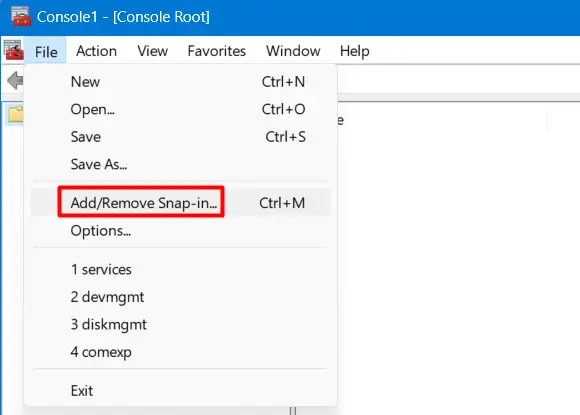
mmcin the text field, and hit OK. When the UAC window prompts, hit Yes to authorize opening the Microsoft Management Console. - Go to File, and hit Add/Remove Snap-in. Alternatively, you may also press Ctrl + M to launch the Add or Remove Snap-ins window.
- Scroll down to Certificates inside the Available Snap-ins, and click once on it. Go to the adjacent window, and hit Add.
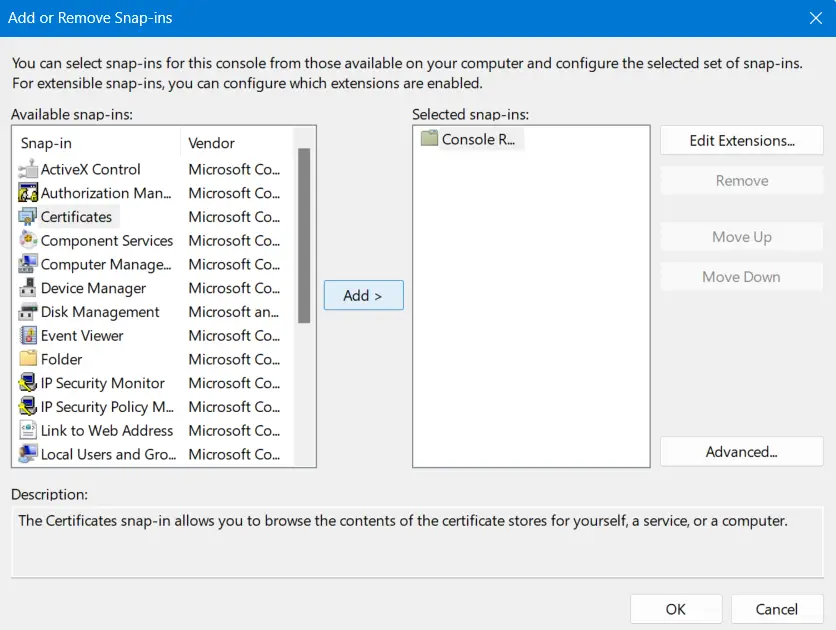
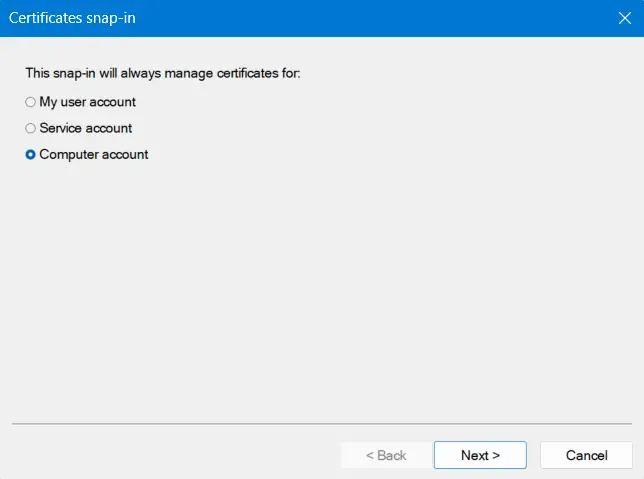
- The certificates snap-in window will appear next. Tick the radio button left of the Computer account, and click Next.
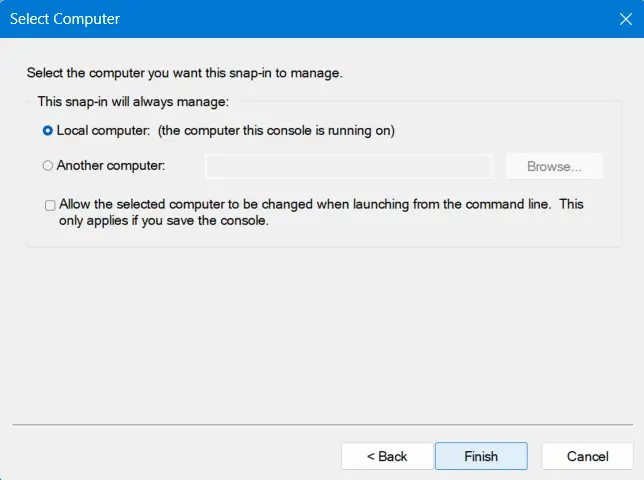
- Enable the Local Computer’s radio button, and hit Finish.
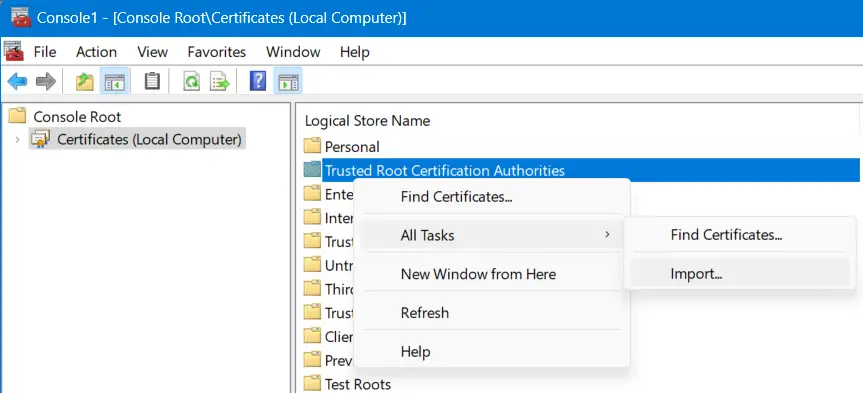
- “Certificates (Local Computer)” is now added under the Console Root inside the Microsoft Management Console.
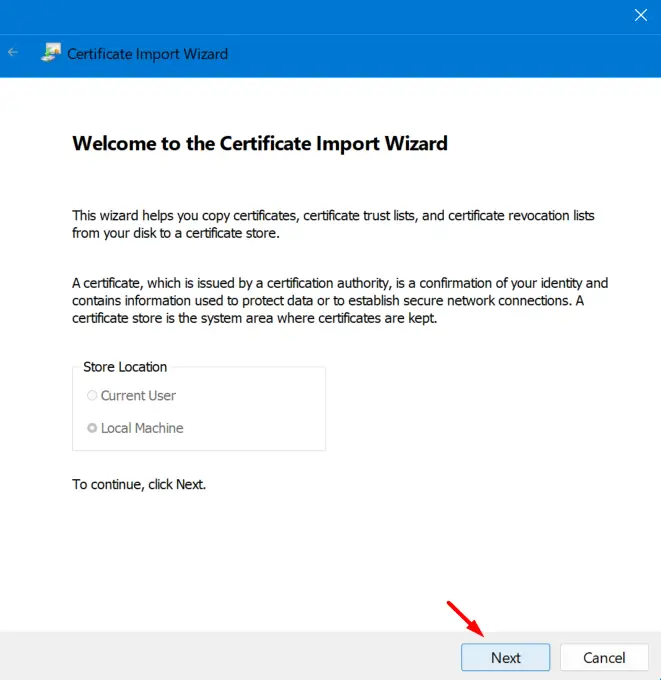
- When the Welcome to the Certificate Import Wizard opens up, click Next again.
- Click on Browse and navigate to the folder containing your trusted root certificates.
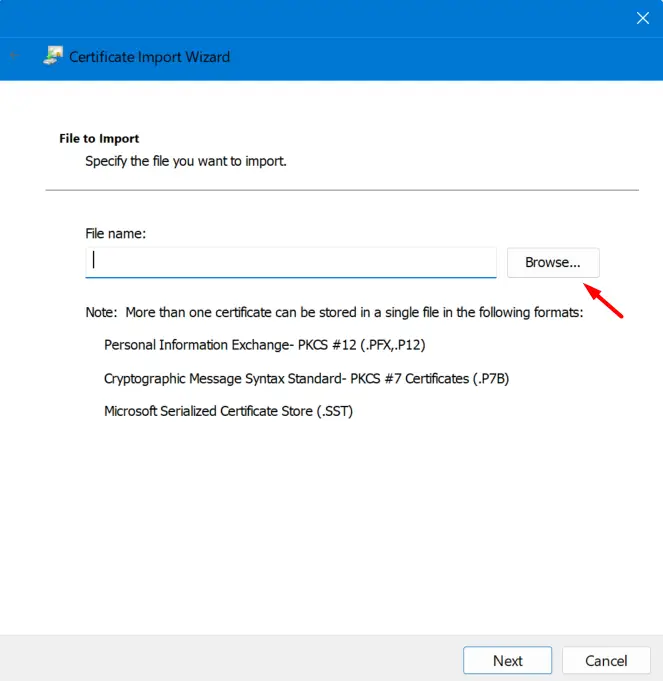
Follow the on-screen instructions next to complete this adding Certificates to MMC.
Managing Trusted Root Certificates
Now that you know how to add a trusted root certificate, let’s learn the steps on how to manage such certificates inside the Microsoft Management Console.
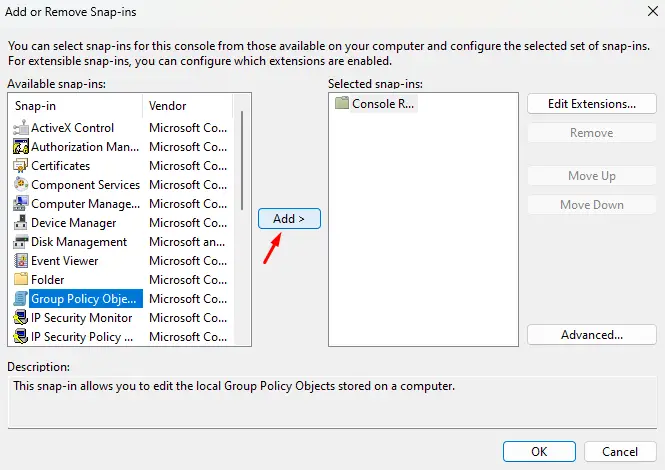
- Go to the File menu again, and select Add/Remove Snap-in.
- This time, click Group Policy Object Editor under Available Snap-in.
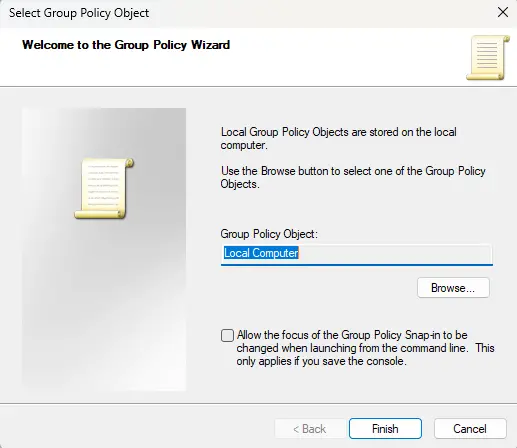
- Type Local Computer under the Group Policy Object, check the tickbox, and then hit Finish.
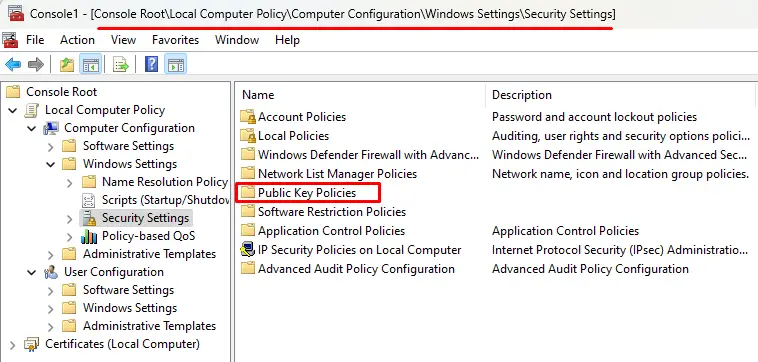
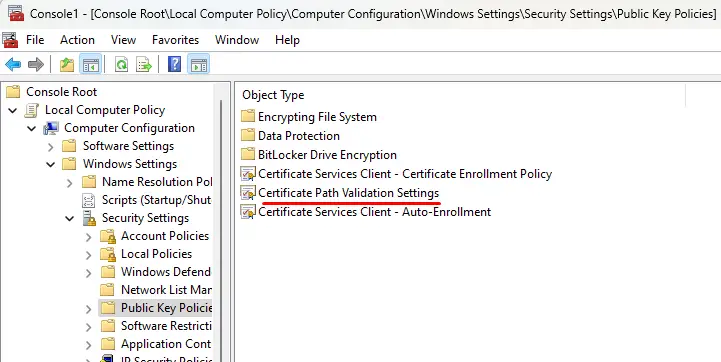
- Go back to the MMC Console tree and navigate to the following path –
Local Computer Policy > Computer Configuration > Windows Settings > Security Settings
- Locate and double-click on Public Key Policies next.
- When this expands, double-click on Certificate Path Validation Settings, and select the Stores tab.
- Enable the tickbox next to Define these policy settings and then enable both checkboxes under Per user certificates stores.
- Scroll down to Root certificate stores, and check the radio button left of “Third-Party Root CAs and Enterprise Root CAs (recommended)”.
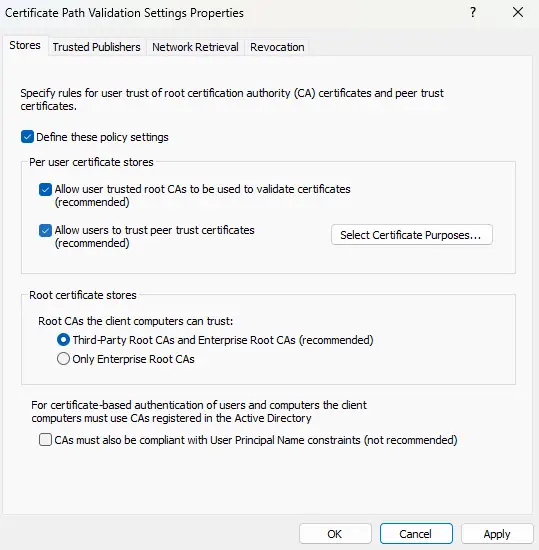
- Finally, click Apply and then OK to confirm the recent changes.
That’s it, I hope you are now able to add or manage Trusted Root Certificates on your Windows PC.