Sometimes after installing a new device driver on Windows 10, your system becomes unable to boot. This issue occurs primarily when you install a third-party or an incompatible driver. Today in this blog, we elaborate an easy way to identify the conflicting driver and remove this boot sector issue from Recovery Environment on Windows 10 PC.
To resolve this driver bug, you should remove the problematic driver from the Windows 10 RE by running some DISM codes on the elevated command prompt. Just enter into the Windows Recovery mode with the help of a bootable media and execute a few codes.
Note: Generally, when the problematic driver attacks the system, it denies access to the Windows services and components. System Restore to fails in such cases; hence, you need to sign in to the Safe mode and perform the steps discussed below sequentially –
How to uninstall the driver from Recovery Environment
To remove the conflicting driver from Recovery environment on Windows 10, use the steps –
- Attach the Windows installation Media (Flash drive, USB, CD, etc) to its respective port.
- Now Restart your computer and enter BIOS settings.
- To do so, press any of the motherboard supported function keys or ESC, Delete while the OS is loading.
- When BIOS appears, click Next available at the bottom of the page.
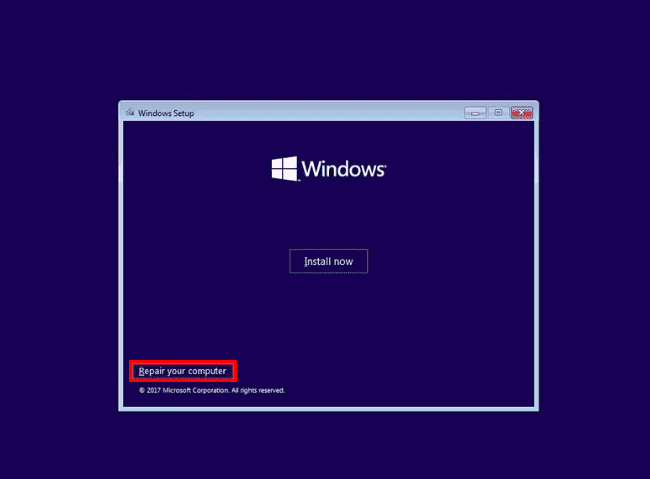
- Thereafter hit Repair your computer followed by Troubleshoot.

- On the succeeding screen, select Command Prompt.

- When the console appears, go to the root drive where the OS is installed. Usually, the main drive is “C:” however when you log in to the Recovery mode this might change to either “D:” or “E:“.
- To enter into this drive type the following near the winking cursor –
cd/
e:
- Make sure to press Enter to execute each command.
Note: If you are not sure about the correct drive, type dir in the console and hit Enter key. This will display the contents of the current drive. If it doesn’t contain any Window folder, switch to another drive –
- Now run the below code to enlist installed drivers on the computer.
dism /image:e:\ /get-drivers
- Here e: indicates the driver where the Windows 10 is installed. You may switch to another disk if there is no such file.
Note: When you execute a command line, make sure to write down the Publisher name of the problematic driver. The “Provider Name” and the “Original File Name” may also help to find the latest version of the driver.
In the case of third-party installed drivers, you may see some other information such as – oem0.inf, oem1.inf, etc. The numbers at the last of the name indicate their order of installation like the higher figure symbolizes the latest one.
- To get more details about any particular driver, execute the following code and hit Enter –
dism /image:e:\ /get-driverinfo /driver:oem1.inf
Here, you need to change e: as this may vary for your PC. Make sure to change oem1.inf as well to the ones present in the drivers’ list.
- To delete a conflicting driver, use the following command and hit Enter.
dism /image:e:\ /remove-driver /driver:oem1.inf
- Now tap the X button to come out of the command prompt.
- Do the click on Continue to save the changes.
Once over, remove the bootable USB drive and Restart the Windows normally.


