Many a time, Windows operating system develops internal glitches which can’t be solved by either SFC, DISM, or even by resetting Windows Update Components. In such cases, we suggest users to reinstall Windows Operating system specially when it comes to Windows 11.
If you don’t do so, your device might get into different issues quite frequently. Some of these issues are Camera stops working, system apps crash out of nowhere, screen starts flickering, or audio not coming while playing media.
By reinstalling Windows 11, you may also remove any bloatware that comes preinstalled on your laptop. Microsoft lets you use different options with proper configuration, using which one can easily reinstall Windows 11. Make sure to select what to do with your data i.e. keeping them or just let them disappear from your device.
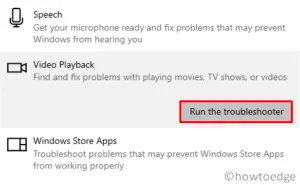
If you are looking more into ways that can repair Windows 11 OS, read this guide instead.
Reinstall Windows 11 [4 Ways]
If Windows 11 corrupts for any reason on your device, and you are looking for ways to reinstall it again, here are the two quickest methods –
- Reset Your PC
- Using an ISO image
- Mount ISO image and upgrade to Windows 11
- Reinstall Windows from the Recovery Mode
1. Reset Your PC to Windows 11
If you don’t want to lose your personal files or folders, this is the method you are looking for. Reinstalling Windows 11 this way is quite easy and doesn’t require the need of an ISO file. Saying so, let’s have a look at how to perform this task –
- First of all, press Win + I and select System.
- On the right pane, scroll down and locate the option – Recovery.
- Under “Recovery options”, you will find a setting to “Reset this PC”.
- Click over the button – “Reset PC”.
- On the succeeding window, hit “Keep my files”, and let the things getting started.
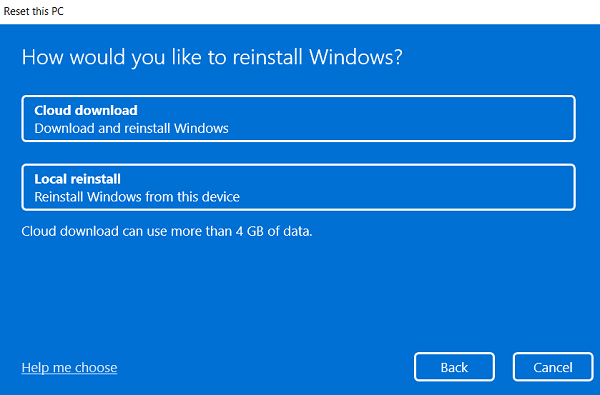
- If you do have a Windows 11 ISO file, hit Local reinstall; click Cloud download otherwise.
- Subsequently, hit Next and follow the on-screen instructions to finish reinstalling Windows 11 on your computer.
Note: The moment you hit the Reset button, you will no longer be able to undo this process. So proceed only when you are 100% sure.
2. Using an ISO image
As stated above, the method above supports both ways of reinstalling Windows 11 i.e. Cloud or Local. However, if you want to install Windows 11 the traditional way, here’s how to proceed –
Note: Proceeding this way requires a valid ISO image of Windows 11. As the new OS is still not available for the general public, you have to become an insider first. After you enroll your device for Windows 11 and there is no issue from their side, do the following –
- First of all, visit Microsoft’s software download page.
- If you are not logged in, a pop-up will appear asking you to sign in to your official account.
- When the visited URL opens up, scroll down to Select edition.
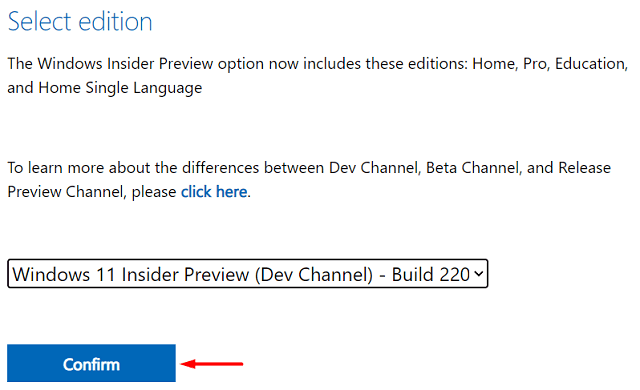
- Use the drop-down menu beside Select edition, and choose the Windows 11 Build OS that you want to reinstall.
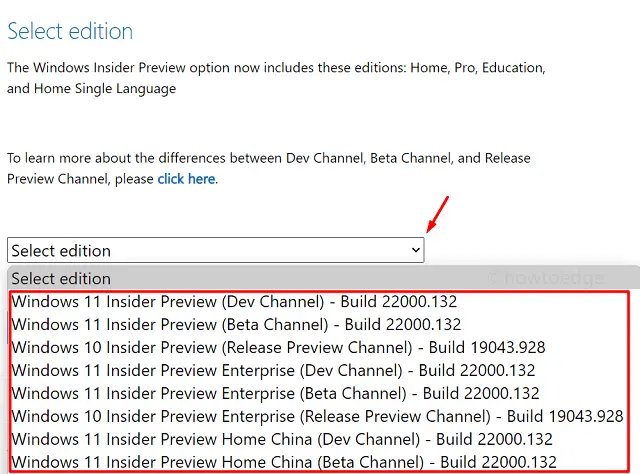
- Hit the Confirm button next.
- Use the drop-down menu again to select the product language and hit Confirm.

- Since Windows 11 supports only 64-bit and above system architecture, you will get a link displaying “64-bit download”.
Note: This link will be available for a maximum of 24 hours and will vanish as soon as the allotted time range is over.
- Click “64-bit Download”, and the opted Windows 11 insider version starts downloading automatically.

Now that you have the Windows 11 ISO file, use Rufus to create a bootable media, and later clean install Windows 11 on your device.
3. Mount ISO image and upgrade to Windows 11
If you don’t want to clean install Windows 11, you may do so righteously by mounting the ISO image. Proceeding this way will keep all your previous Windows installation(s), files/folders, or other data inside the Windows.old folder.
Here’s how to upgrade Windows version 7, 8, 8.1, or 10 to Windows 11 –
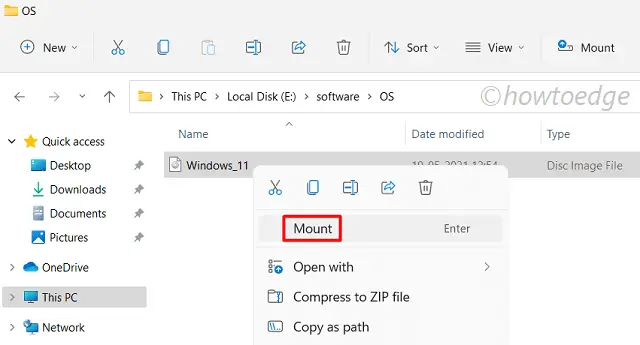
- Assuming you already have Windows 11 ISO file on your computer, right-click on it, and hit Mount.
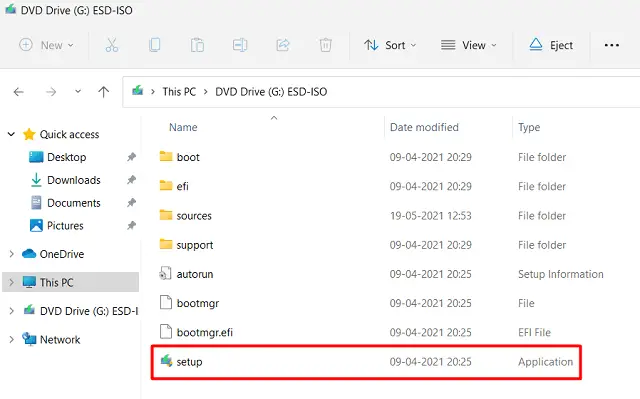
- Go to This PC > Mounted Disc.
- Reaching there, double-click on the setup file to begin Windows 11 installation.
- Wait for a few seconds while the setup is ready to install.
- Click Next.
- The setup file provides two options to choose from. Choose the first only i.e. “Download and install updates (recommended)” only when you have a stable network connection. Else, you may go with the “Not right now” option.
- Click Next again.
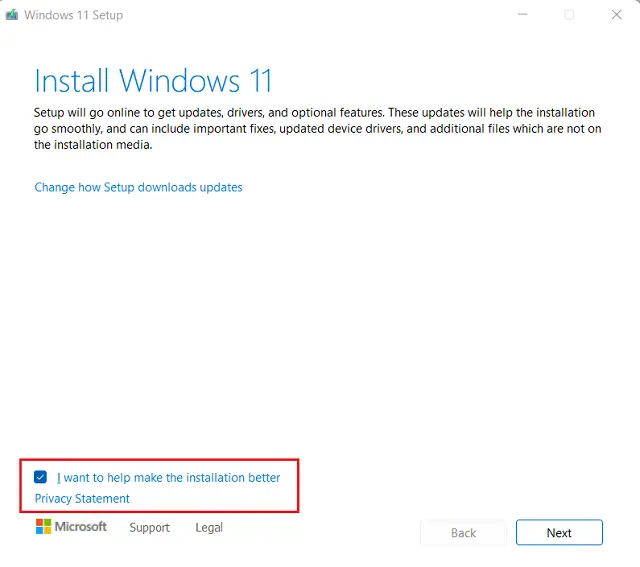
- Windows 11 will look for any updates online (for the first option), and thus the installation process begins immediately afterward.
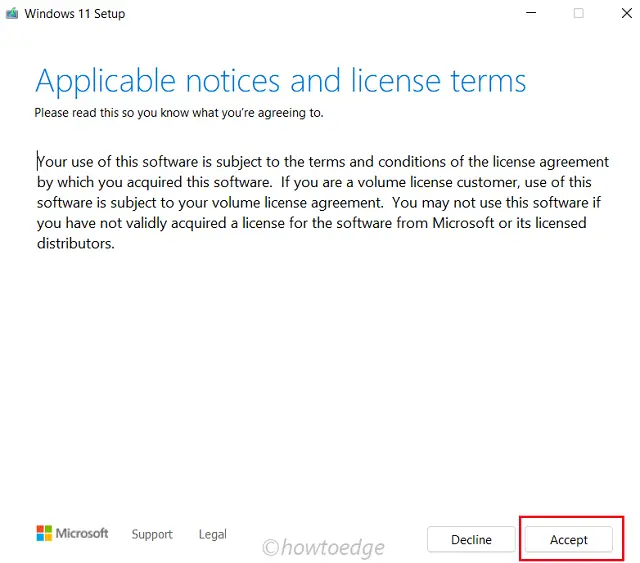
- Click Accept when Applicable notices and license terms window comes into the display.
- When asked “What to keep”, click – “Keep personal files and apps”.
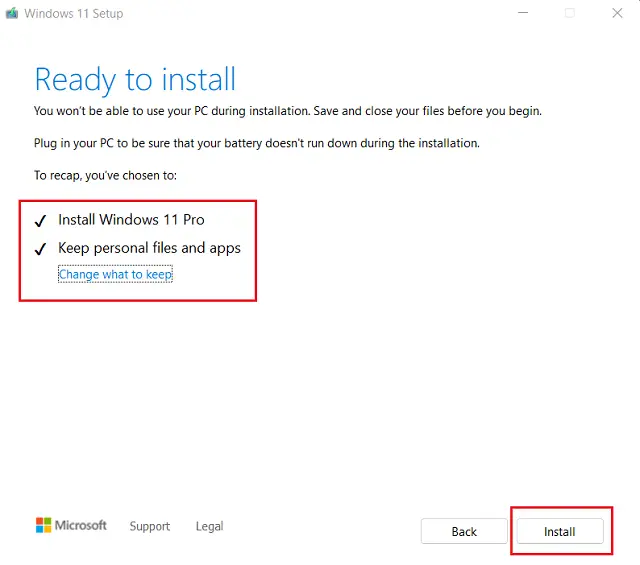
- Click Next and then Install.
- Let the operating system install on your device and when it does, fill in the below data using the drop-down menu.
Country, Language, Keyboard Layout, and Time zone
- Proceeding ahead, hit customize settings and change the default privacy as per your own need or requirement.
- In the end, you will get a welcome screen. Wait for it to disappear and once it does, your device is ready to use with Windows 11.
4. Reinstall Windows from the Recovery Mode
Sometimes it may occur that you simply forgot the password and hence can’t log into your device (Local account). If you had used an email account to log into your device, you can always reset the password using a link available on the sign-in screen.
In such a scenario, you may boot your device first into recovery mode and reinstall Windows 11. Here’s how this process goes –
- On the login screen, click the power button.
- When this expands, you will get three different options i.e. Sleep, Shut down, and Restart.
- Press and hold down the shift key and hit the Restart option. Your PC will restart and boot into the Windows Recovery Environment (WinRE).
- Click Troubleshoot > Reset this PC.

- Here, you may opt to either “Remove everything” or “keep my files” as per your need.
- Choose the ‘Cloud download‘ next if you don’t have Windows 11 ISO locally on your computer. In case you do have an ISO image, select “Local reinstall“, and navigate to the path where this resides.
- You need not require any USB or flash drive to complete the installation going this way.
- Click Next and choose the drive where you would like to reinstall Windows 11. It’s up to you to either format or not the disk drive on which you are trying to install the new OS.
- If you no longer want to recover personal files, opt – “Fully clean the drive“, else hit – “just remove my files“.
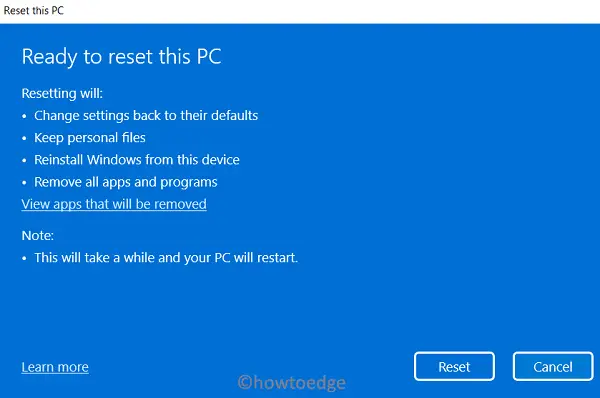
- Your device will reboot stating the possible changes that are going to occur on it. Note down all such implications and hit the Reset button.
I hope this guide helps to fresh install or reinstall Windows 11 without losing personal data.